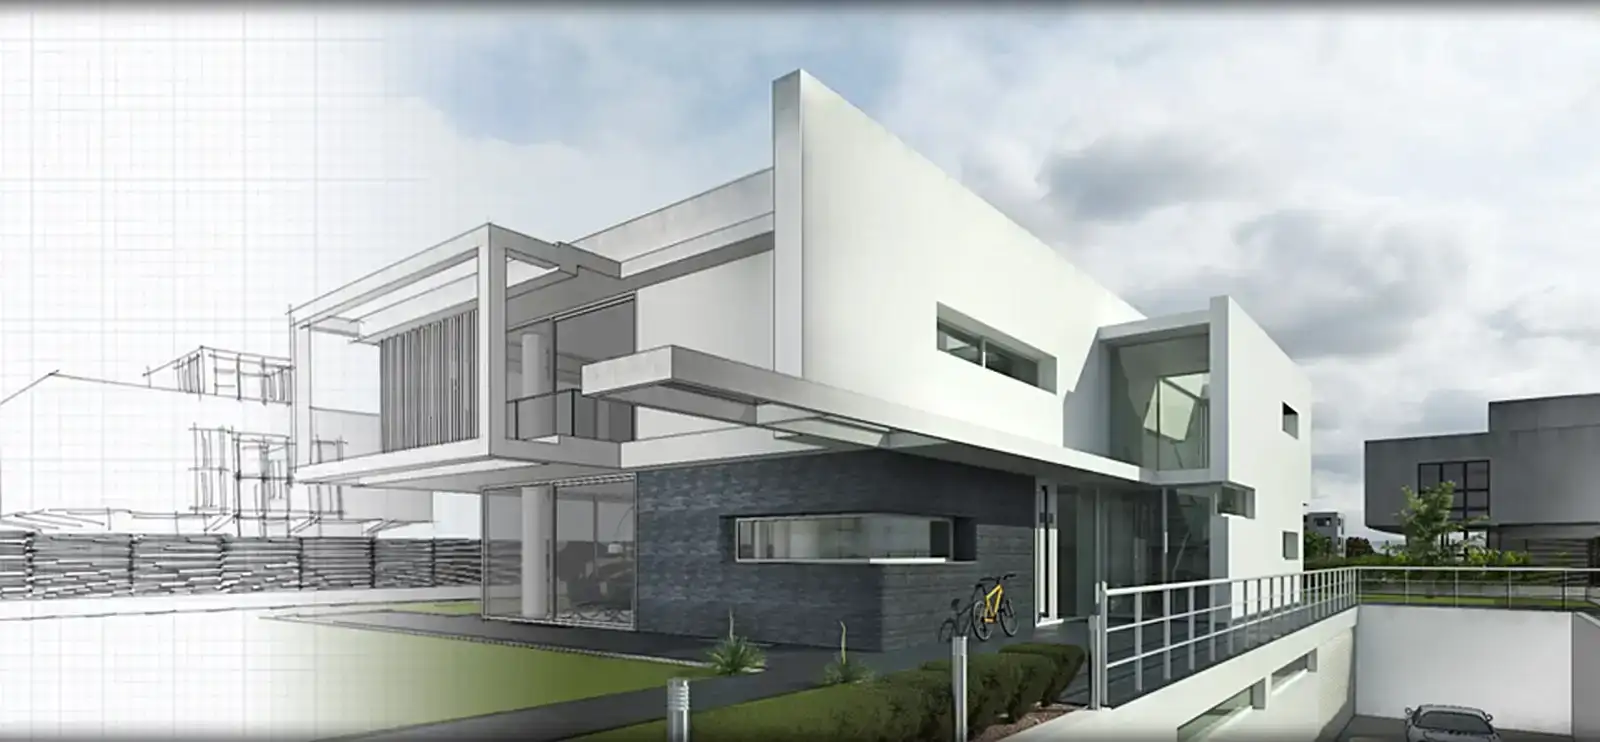
How to Create a 3D Model from Photos: A Complete Guide
Creating 3D models from photos has become more accessible in recent years. What if someone tells you that your smartphone can be converted into any object in a detailed 3D model in minutes! This is the advanced world of photogrammetry, where modern methods have enhanced the way professionals work with digital tools.
Thus, such tools help in achieving ideal or desired shadows, textures, and angles with superhuman accuracy. However, it is recommended to get expert 3D Architectural Modeling Services from experienced individuals. Thus, the outputs are refined through artificial intelligence, machine learning, and photogrammetry software! So, stick to this guide to get to know insights about how to create a 3D model from photos.
This comprehensive guide explains how to create a 3D Model from a Photo and all the insights about different techniques to get the desired results!
First, let’s talk about photogrammetry:
What is Photogrammetry?
Photogrammetry is a detailed process that extracts 3D info from photographs.
But the question is, how does that work?
Well, in simple words, multiple overlapping photographs are taken of an object or space. After that, it is converted into 2D or 3D digital models. Basically, in the whole process, various images are deeply analyzed. Additionally, they are taken from different angles. During the process, the matching points are identified between photos.
In short, photogrammetry helps to create 3D models from photos to provide realistic visuals of the objects.
Quick Start Guide
For Mobile Users
- Download KIRI Engine (iOS/Android) or Scaniverse (iOS)
- Take 50-100 overlapping photos
- Let AI process
- Export your 3D model.
For Desktop Users
- Use Agisoft Metashape or RealityScan 2.0
- Upload 60+ overlapping photos
- Follow the automated workflow
- Export in preferred format.
Which equipment is important?
Smartphones
Smartphones with new models work well due to advanced features. However, use wide lenses to capture each frame. Wide angle means a DSLR with a 10mm or 20mm lens.
DSLR Cameras
A professional DSLR provides the best image quality with various settings. So, use 10-20mm lenses for better results per frame.
Image Quality Requirements
Image resolution is the major measuring thing to consider when evaluating the quality. The resolution directly influences the number of spits that the photogrammetry algorithm can analyze. This way, the 3D model quality is either compromised or enhanced.
What are Minimum Specifications?
- 8MP camera resolution (12MP+ recommended)
- Good image stabilization
- Sharp focus throughout
- Consistent exposure settings
Step-by-Step Procedure for creating a 3D model
Phase 1: Planning
- Assess lighting conditions
- Identify challenging surfaces (shiny, transparent, textureless)
- Plan shooting positions and angles
Equipment Setup
- Choose the right camera/smartphone
- Set required camera settings
- Set lighting if shooting indoors
Phase 2: Photo Capture
1) Initial Setup
- Don’t chop off bits of the item in the images if you are photographing a single object. Get the whole object in frame.
- Start with wide establishing shots.
2) Systematic Coverage
- Move in organized patterns (circles, grids)
- Maintain 60-80% overlap between images
- Capture from multiple elevations
3) Detail Shots
- Focus on important features
- Ensure no area is missed
- Take extra photos of complex areas
Phase 3: Processing
1) Import Images
- Load all photos into the project
- Remove any blurry or poorly lit images
- Align Photos
- Align photos — this step will detect object points, select the pairs, and match the points and different camera locations
- Review camera positions for accuracy
- Build Dense Cloud
- Generate a detailed point cloud
- Adjust quality settings based on needs
- Create Mesh
- Build a 3D surface from a point cloud
- Choose an appropriate polygon count
- Generate Texture
- Apply photorealistic textures
- Optimize texture resolution
Using Mobile Apps:
- Capture Mode
- Select object or scene mode
- Follow in-app guidance for photo capture
- Automatic Processing
- Upload to cloud (if required)
- Wait for AI processing completion
- Review and Export
- Check the Photogrammetry 3D model quality
- Export in desired format
Applications and Use Cases
Professional Applications
Architecture and Construction:
- Complete site coverage in 20-30 minutes instead of days with ground crews
- Progress monitoring and documentation
- As-built documentation
Cultural Heritage: Create artifacts and excavation site 3D models for in-depth research and preservation.
- Archaeological site documentation
- Museum artifact digitization
- Historical building preservation
Manufacturing and Quality Control: Model anything – from crime scenes to automotive crash sites – for forensic evidence gathering.
- Product development and prototyping
- Quality assurance and inspection
- Reverse engineering
Conclusion
In short, creating a 3D model from photos has changed from manual skills to modern creative tools. If we talk about modern software, AI helps experts to process multiple data points and get high-quality 3D models. So, if you are using a simple application or an advanced desktop software, it is better to understand the fundamentals before working on it. You need to learn about proper photo capture techniques and how you can iterate your workflow. However, with time, the process to convert images to 3D models will become more advanced and accessible. But if you are just a beginner, then get professional 3D Rendering Services to get the desired outcomes. To practice, start with simple projects and work with different methods to be a pro!


