How to Create Realistic Glass Materials in Architectural Rendering
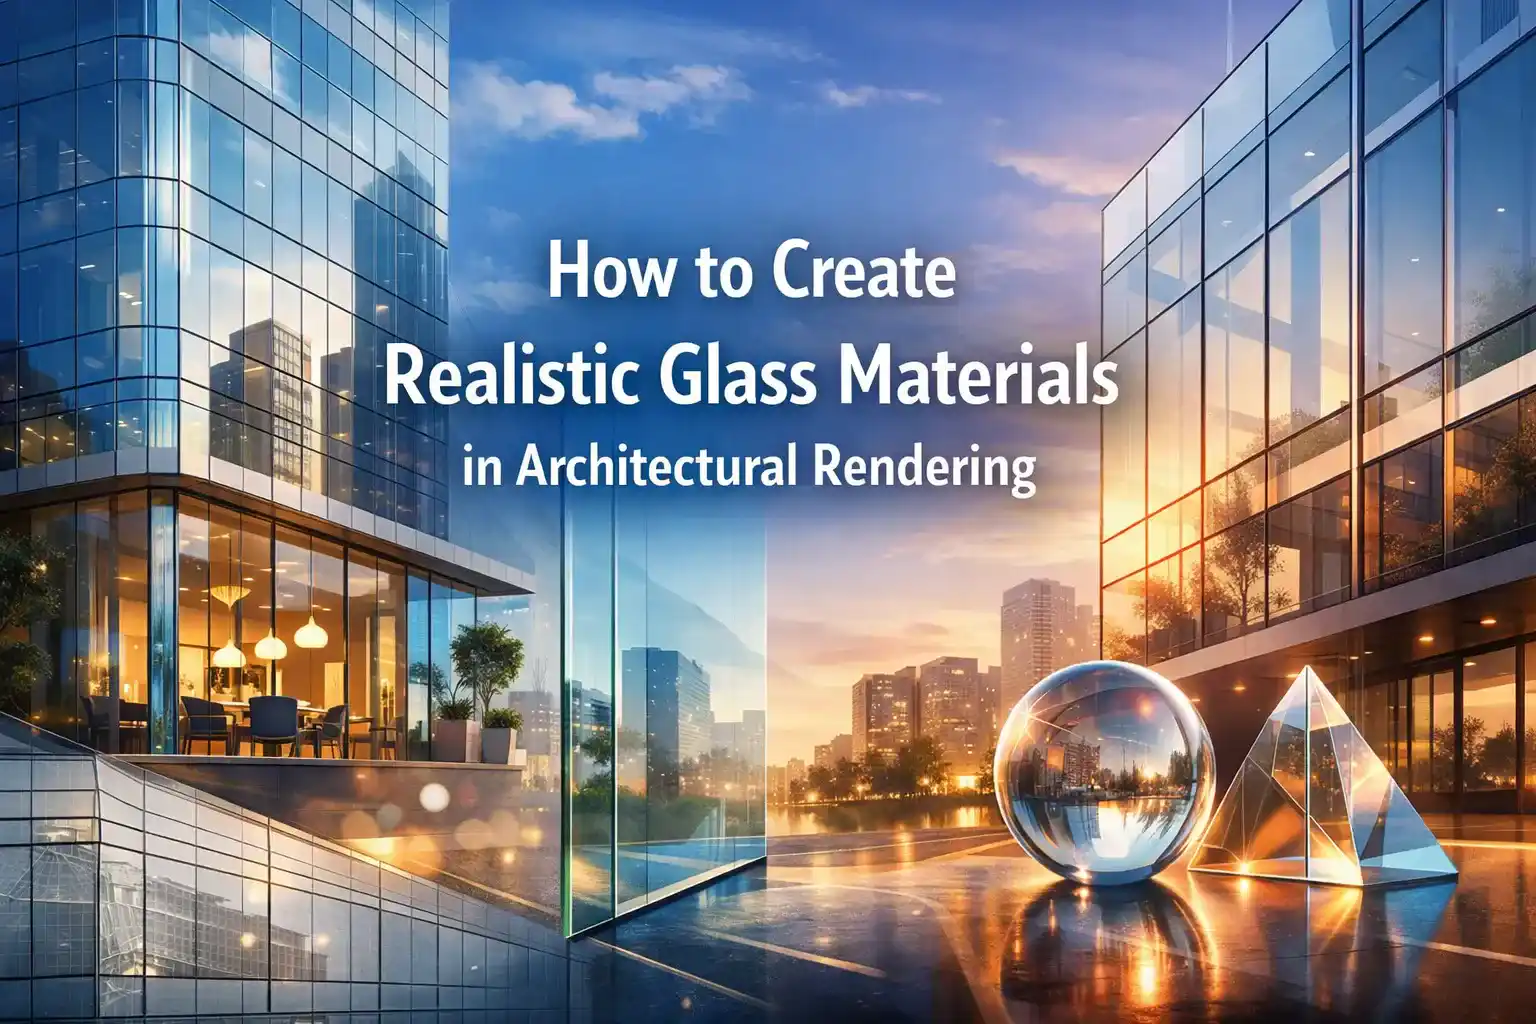
To create realistic glass materials in architectural rendering, you must have to go through some complex steps. It defines the features of the modern buildings from sleek curtain-wall skyscrapers to softly lit residential facades. Glass simultaneously reflects, refracts, transmits, and absorbs light. To get it right in this digital environment, one requires both technical precision and artistic quality. Now, the advanced software has achieved the highest level of accuracy in creating designs.
Rendering tools are reaching new heights of accuracy. Real estate agents outsource a reliable architectural rendering company to achieve perfect designs. They provide life-like visuals in the form of images and animation. You can also design your buildings according to your desired concepts.
This guide explains how to Create Realistic Glass Materials in Architectural Rendering!
Why Glass Is So Difficult to Render
It is true that Glass Materials in Architectural Rendering is now a must for the success of every design project.
There are certain properties of glass such as:
- eflection
- refraction
- transparency
This makes it very difficult to render. If you compare it with a painted wall, that is very simple. But, for a glass rendering, every change affects the lighting, time of day, etc.
A minor problem in reflectivity can make it a fake to the human eye. Architects face an increased number of choices in designing with glass. The manufacturers propose a greater variety of colours and textures. There is a large range of coatings and treatments. It allows for a unique section of glass panes.
The right steps to create realistic glass Materials in architectural rendering
Step 1: Choose the Right Rendering Engine
The choice of software is the basis of everything. Software like V-Ray is the most powerful rendering engine in architecture. They provide photo realistic images with extraordinary levels of detail. It consists of different sets of features:
- advanced lighting techniques,
- global illumination
- an extensive material library,
This allows designers to copy real-world textures and materials with accuracy.
The best rendering engine options for glass:
- Enscape — Excellent for real-time glazing previews directly inside Revit and SketchUp
- Lumion 2024 — Optimized ray-traced glass with fully ray-traced mode for complex objects
- D5 Render — Real-time engine with an extensive default glass material library
Step 2: Configure Core Physical Properties
There are four properties that need to be in every engine you use:
Transparency & Opacity
You must know that the basic appearance of glass is controlled by:
- Transparency
- Roughness
- Specular
- base color settings
Start with a transparency value close to 1.0 for standard float glass. After that, dial it back to consider the slight greenish absorption real glass exhibits.
Index of Refraction (IOR)
The refraction index of the glass is around 1.5.
You need to adjust the IOR in the refraction properties. It is to copy the glass type you are rendering.
For low-iron ultra-clear glass, use 1.52.
For heavily tinted solar glass, it is better to combine a lower IOR with a stronger absorption color.
Reflectivity & Roughness
The two most important settings for typical architectural glass are:
- Tint Color (for visible light transmittance hue)
- Reflection Roughness (for reflectivity sharpness)
A perfectly smooth surface gives you a sharp reflection. It is right for commercial properties.
Thickness & Absorption
The Emulated Thickness slider shows the thickness of your glass material. This affects how light passes through it. To control the amount of light absorbed in your glass surface. You can try tweaking the Absorption slider.
To achieve this level of accuracy, it is better to get Architectural Visualization Services from a reliable source. They use the right tools and methods to create real-like glass materials in architectural rendering.
Step 3: Master Reflections with Environment Lighting
Tips for enhancing glass reflections:
- Use a high-resolution HDRI (16,000 × 8,000 px minimum) for exterior scenes
- Enable ray-traced reflections rather than screen-space approximations
- Add surrounding context geometry — neighboring buildings, trees, and street elements contribute to convincing glass bounce
- For night scenes, interior lighting “bleeding” through the glass creates depth and warmth
Step 4: Add Surface Imperfections and Texture Variations
- Apply a subtle noise bump map to simulate float-glass waviness
- Use normal maps to create fluted, reeded, or patterned glass effects
- Add a faint fingerprint/smudge overlay texture to touch-heavy surfaces like storefronts
- For aged buildings, introduce slight yellowing in the absorption color and a dirt overlay mask
Step 5: Handle Thin-Wall Surfaces Correctly
A common problem is modeling the glass as a single surface rather than a solid with thickness.
When using surface modeling to keep file sizes small. Make sure that the thickness option in D5 Render is enabled to correct inaccurate glass refractions.
Step 6: Use Ray Tracing for Colored Light
- Enable ray-traced shadows for all glazed surfaces receiving direct sunlight
- Set adequate ray depth (minimum 8–12 bounces) so light passes through multiple glass layers
- For stained glass or fritted panels, use a transparency cutout map alongside the colored tint
- Activate fully ray-traced glass mode for complex glass objects such as canopies, balustrades, and decorative elements
Step 7: Post-Processing for a Final Polish
Keep in mind that even the best glass images look better with a few fixes. You can add a little blurring and soft glows that make the glass look real.
Conclusion
To create realistic glass materials in architectural rendering, you need to be right with light and color. One has to build a real world around the glass. It makes it look alive. Use new methods and tools to make an image look real. The best thing is to get renderings from experts. They are trained and help you achieve the desired designs quickly!
