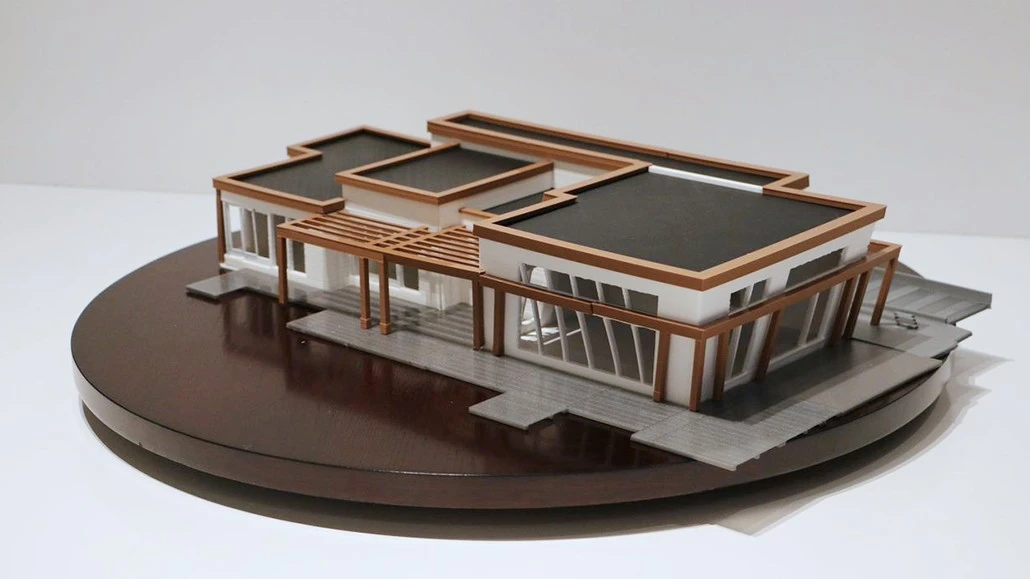
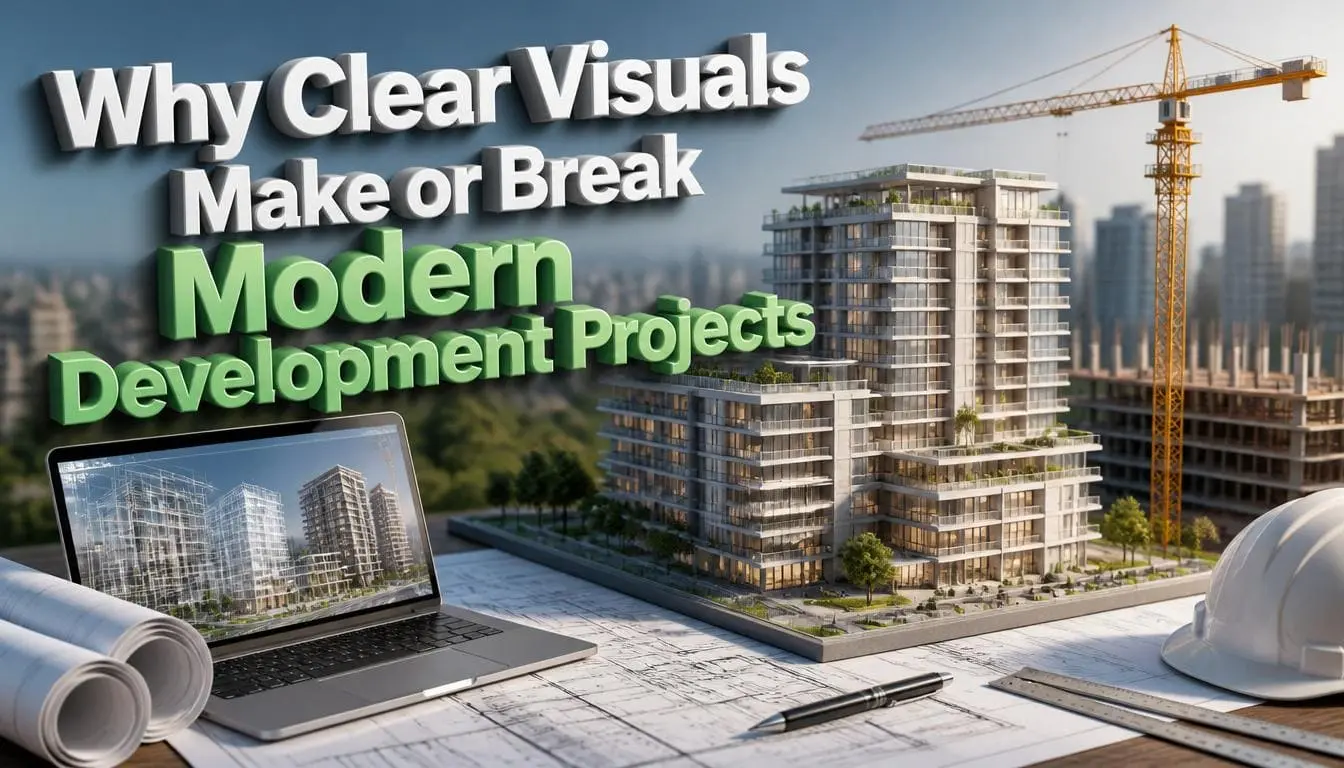
How to make a 3D Architecture Model from a Picture
Are you searching for how to make a 3D model from a picture? Stick to this guide and get your answers in detailed steps. Well, in this technological world, converting a 2D picture into a 3D architectural model is not difficult for trained experts with the help of software.
Various companies are offering professional 3D architectural visualization services to architects, designers, Real Estate agents, developers, etc. They just need to provide a picture to convert it into a stunning 3D model.
Hence, if you are still relying on manual methods and hand-drawn sketches, then stop. If you want to attract your target audience, then convert the property image to a 3D model and see how your conversions will increase. So without any further to do, let’s discuss why and how to convert a picture to a three-dimensional model:
DIVE IN TO EXPLORE HOW TO MAKE A 3D MODEL FROM A PICTURE IN A STEP-BY-STEP PROCESS AND BOOST YOUR PROFITS IN THE QUICKEST TIME!
Why Convert a Picture to a 3D Architectural Model?
There are multiple reasons to convert a picture into a 3D architectural model, such as:
- To get a life-like visualization for property marketing by turning vacant spaces into a fully stunning 3D model.
- Showcasing the interior and exterior spaces in three-dimensional format for simplification of design ideas and approval.
- The recreation of old buildings or sites from the still photographs.
- It is also used to convert your ideal concepts captured in a photo into a digital 3D form.
What things are required?
Before discussing the detailed steps, first, you need to know what things are required.
The experts should receive a crystal clear and high-resolution picture of the building. Second, take subscriptions of advanced 3D modelling software such as SketchUp, Revit, Blender, Autodesk 3ds Max, etc.
However, make sure that the software you choose aligns with your requirements. In addition, you must have reference dimensions for the sake of accurate scaling!
Step-by-Step Process
Step 1: Choose the Right Image
Make sure that the photo you choose is crystal clear and has a view of the front and the side elevation. Let us show you which angles you must go with:
- The first picture must be taken, which is non-angled, so get a straight picture of your building.
- The lighting should be perfect to showcase the building elevation properly. So, make sure that the picture is in its very high resolution.
- Include minimal obstructions (e.g., trees or cars in the way).
Step 2: Import the Image into Your 3D Software
Do you know how to import images into a 3D modeling software? We have discussed some of the most famous tools and how to import images into those tools:
In SketchUp:
- Go to File – Import.
- Choose the image and import it as a “Match Photo” or “Image”.
- Align the photo with the axis lines.
In Blender:
- Go to Add – Image – Reference.
- Position the image in your viewport.
In Revit:
- Insert the image into a drafting view or plan view as a reference.
Step 3: Scale the Image Accurately
In order to prevent mistakes and generate realistic visuals, you have to identify the right measurements in the picture. It can be the door, window, etc. Moreover, advanced rendering tools help experts to draw a reference line and scale the model based on that length.
Step 4: Trace the Structure
Now, it is time for modeling and tracing, which is the favourite part of any investor.
- To trace the building shape, use lines, rectangles, and push/pull.
- You can start measurements with the major elements, such as walls, roof, floors, etc.
- If you turn on the transparency in the image, then the face can be simpler.
- Plus, make sure to also include unique architectural details of balconies and other elements.
For enhanced and perfect results, you can outsource 3D architectural modeling services and impress your clients!
Step 5: Add Depth and Extrude Shapes
Now, the next step is to add depth and make it more realistic. To give it a volume, you need to extrude the two-dimensional shapes. For different software, it can be done differently:
- In SketchUp: Use the Push/Pull tool.
- In Revit: Use the Extrusion tool in the Family Editor.
- In Blender: Convert shapes to mesh and extrude.
Step 7: Render Your Model
The last step is to render your model and give it a life-like finish. For that, you need to use different tools to set light, shadows, and other settings. Plus, consider your client’s preferences to deliver the exact expected results!
Are you also searching for how to make 3D models for 3D printing? Use CAD software such as Fusion 360, Tinkercad, etc.
CONTACT OUR EXPERT TEAM AND GET REALISTIC RENDERINGS FOR YOUR PROJECTS, WHETHER IT IS RESIDENTIAL, COMMERCIAL, OR INDUSTRIAL!
Conclusion
Hopefully, now you understand how to make a 3D architecture model from a picture. Whether you want to design a new project, recreate a historic building, or impress your clients with your creativity. It is best to learn such skills by using the right tools and a clear picture for better 3D results!
