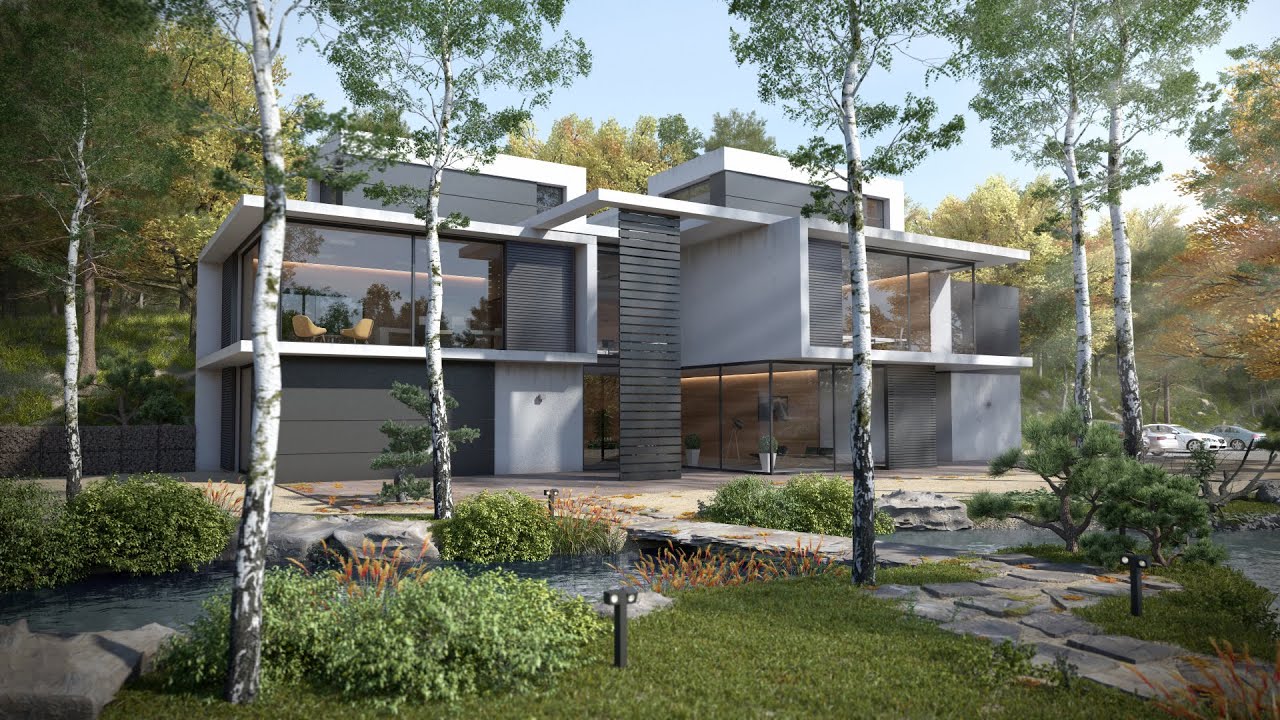
What Is the Process of Converting CAD 2D Drawings to 3D Animation?
Particularly in the AEC industry, the conversion of CAD 2D drawings to 3D animation is crucial because of its promising results. The output enhances the overall visualization and facilitates better communication among the professionals. The clients can virtualize the spaces they want to see before the construction begins. Moreover, advancements in technology have also led to walk-throughs and virtual tours around your spaces.
To achieve that, you have to follow some important steps, if not properly followed, you will never get the design results. For this reason, we have enlisted the guidelines for you to understand how you can convert CAD 2D Drawings to 3D Animation. If you cannot process that, you can get assistance from our professional Architectural Visualization Services and make the right decisions for your projects under affordable packages!
DEEPLY ANALYZE THE STEPS OF THE PROCESS OF CONVERTING CAD 2D DRAWINGS TO 3D ANIMATION AND NOTE THEM DOWN TO CREATE FLAWLESS AND SPLENDID ARCHITECTURAL DESIGNS FOR YOUR CLIENTS!
Step-by-step guidance to convert CAD 2D Drawings to 3D Animation!
Make sure to prepare flawless 2D drawings!
The process starts with preparing flawless two-dimensional drawings which must be complete and accurate. You must know about all the dimensions, annotations, and project features that are required by the client. In addition to that, you may also look for closed-loop geometries. After knowing all about these features you must organize the components such as walls, doors, windows, etc into different layers.
Let’s consider a scenario in which you have to design a mechanical gear. For that, you must start with the confirmation of its dimension and how it is connected with closed-loop polylines. After that, you have to organize the outer and inner profiles on separate layers for better understanding during the process.
Importing the 2D Drawing into CAD Software
In the second step, you have to import the 2D drawings into CAD software such as AutoCAD, SolidWorks, or Autodesk Inventor. The format in which you import can be DWG or DXF.
- Whatever software you choose, import or open a command to load the 2D drawing.
- After that, you have to check the correct scale and alignment within the 3D workspace.
- Now again, check the layer alignment for example walls and outlines.
- If you feel any error needs to be fixed, for example in geometry then work on it.
You can use distinct methods of conversions!
- The first one is named as extrusion which extends a two-dimensional shape into a 3D solid by giving it depth. Let’s say that to exclude a circle into a cylinder.
- The next one is revolve which means to create a 3D solid or surface by sweeping an object around an axis.
- Then comes sweep, which moves a 2D object along a certified path. Let’s say you are sweeping a rectangle along a curved path which creates a pipe.
- The next one is the loft that helps to connect 2D profiles that combine up to make a three-dimensional shape. Let’s say you’re lofting between two distinct circles to create a cone structure.
Enhancing and adding details
Now you have created a 3D model in a standard form And you can refine the accuracy by adding holes, fillets, chamfers, and deep surface details.
You may be wondering what the usage of these additional features is. So fillet helps to create the rounded edges and chamfers add angled cuts. On the other hand, you can use offset or pattern to enhance the surface detailing.
Validation and Optimization
After making the 3D model:
- Do dimensional checks with the original 2D to ensure compliance.
- Conduct interference analysis to rule out the interactions of dissimilar components.
- Modify the mesh to make sure that it is suitable for animation reproduction without stressing the computational requirements too much.
Preparing for Animation
Now for animation purpose, you have to export it to animation software such as Lumion, Unreal Engine, Blender, Autodesk Maya, or Cinema 4D. follow these steps to get exceptional animation:
- By rigging a model with the skeleton similarity structure, movement can be permitted. Character animation example: legs and arms are rigged with bones to allow walking or mimic expressive poses.
- Keyframing is a method which defines the start and end positions of interesting motion sequences. Example: By making the timeline go from open to closed it is possible to animate a door
- Physics Simulation is a method that simulates gravity, wind effects and collision. Example: drop a ball with gravity and what happens? You get some realistic bounces!
- Material Texture Adjustment is applied because surfaces need to be optimized for rendering.
TO CREATE FLAWLESS 2D DRAWINGS YOU CAN HIRE OUR DRAFTERS FOR ACCURATE ARCHITECTURAL DRAFTING SERVICES AND MOVE ON WITH YOUR PROJECTS!
Final Thoughts!
In short, hopefully, you have understood the Process of Converting CAD 2D Drawings to 3D Animation. You have to be very careful in every step so follow the instructions. If you are someone who wants to market your properties or products, you need to rely on professional Architectural Animation Services that can fulfil your needs. With the help of the right tools and methodologies, you can achieve what you desire. Our recommendation is to use advanced software to convert 2D drawings into architectural animation.


