Why Your Kitchen Renders Look Nothing Like the Finished Build
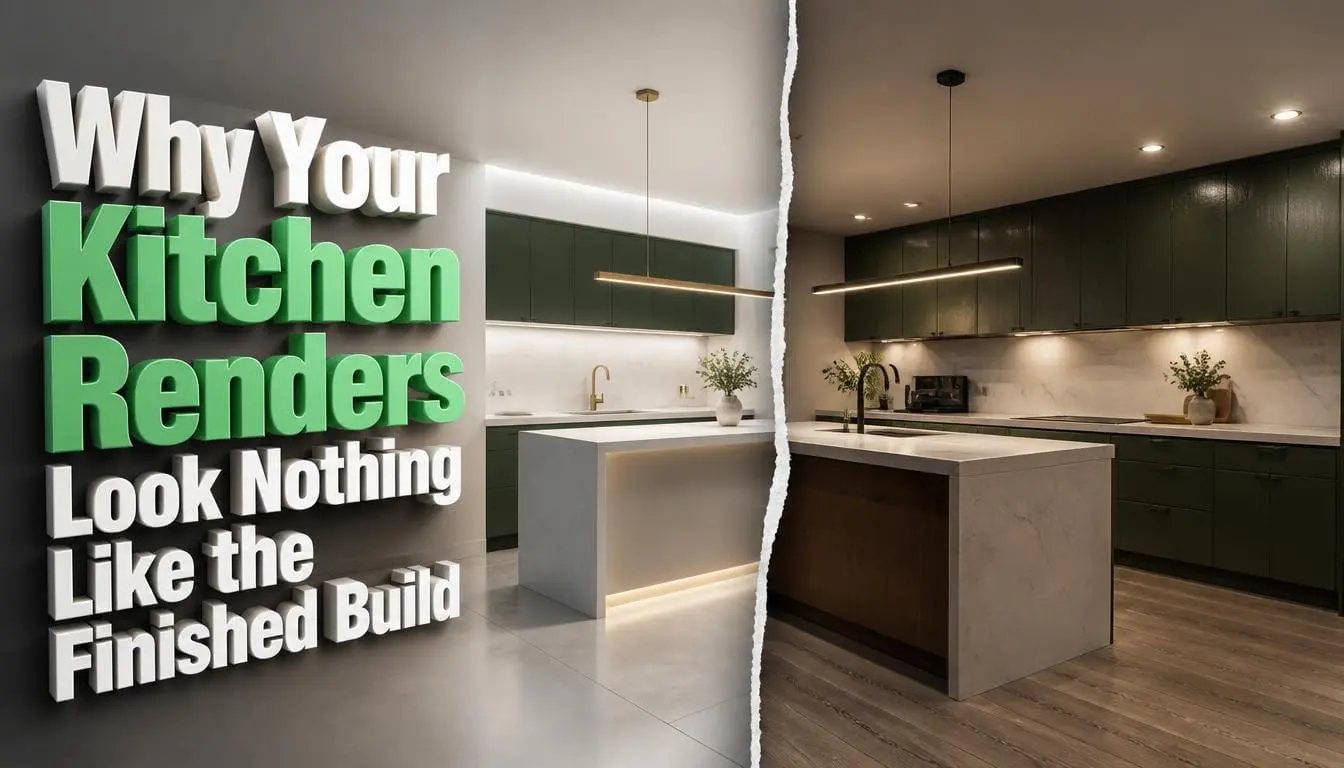
Kitchen renders don’t perfectly match the finished build because a render is just a picture, not an exact specification. It shows one color, under one light source, from one camera angle. But the actual finished kitchen involves real paint or material, under real lighting, applied to walls that aren’t perfectly straight. The difference comes from five measurable factors: color accuracy, surface sheen, type of lighting, natural material variation, and how precisely things are installed. None of these are the fault of the person creating the render, and none of them are usually written into a contract.
Quick answer
- Kitchen renders drift from the finished build across five specific gaps: color (approved by eye instead of a manufacturer code and ΔE tolerance), sheen (a word like “satin” instead of a gloss-unit range), lighting (idealized render light instead of your fixtures’ actual CCT/CRI/IES data), material (a single texture map instead of your real slab or wood batch), and installation tolerance (nominal dimensions instead of fillers, reveals, and toe-kicks).
- The fix isn’t better rendering software; it’s better inputs: a named color code and physical sample, a target GU range, real IES files, slab photos, and elevations showing fillers and reveals.
- Closing these gaps typically adds a few days up front and little to no added cost, versus the far higher cost of refinishing or replacing material after a mismatch is discovered post-installation.
Our team offers dedicated residential rendering services built around exactly this kind of specification rigor. Send us your finish schedule and lighting package; we’ll review it against these five gaps.
What’s Missing From Most Kitchen Renders, and What Does That Cost You?
Most 3D interior rendering services deliver an image and stop there. The better services deliver an image plus the numbers behind it. This article covers the kitchen rendering specification gaps that cause the mismatch, what to ask for so the built kitchen lands where you expected, and what added rigor actually costs you in time and money.
The stakes are real. The 2026 U.S. Houzz Kitchen Trends Study of 1,780 homeowners puts the median major kitchen remodel at $55,000, rising to $75,000 for kitchens over 250 square feet. That’s a lot of money riding on an image nobody defined.
What Are The 5 Specification Gaps Contractors Never Mention
Gap 1: Color Is Approved by Eye, Not by Number
You approved a cabinet color on a screen. Your screen showed it in sRGB, a color space that can’t reproduce every pigment a paint shop can mix. Your screen’s brightness, white point, and calibration all shifted it again.
The industry has a number for this. Delta E (ΔE) measures the distance between two colors:
| ΔE value | What you’d see |
| Under 1 | No visible difference |
| 1 to 2 | Barely noticeable under close inspection |
| 2 to 3 | Visible when samples sit side by side |
| Above 3 | Clearly different, and usually rejected |
Color accuracy standards in architectural rendering borrow directly from print and manufacturing, where a supplier is held to a stated ΔE. Kitchen work almost never states one. So “warm white” in the render becomes a cabinet door two or three ΔE away, which reads as a different color the moment it’s hung next to the countertop.
What to ask for: a named color reference for every finish, not a screen color. Specify the manufacturer’s code, then approve a physical sample in the room.
Where and how you look at a sample matters almost as much as the sample itself. If you approve a cabinet color swatch on your phone, at night, at your kitchen table, under a different type of light bulb, it won’t accurately show how it will actually look once installed.
Instead, bring the physical sample into the real kitchen space. View it under the lighting fixtures you plan to install. If natural light comes into the room, check the sample at different times of day. Approval on a laptop or a mobile is not reliable.
Gap 2: Sheen Is Described in Adjectives
“Satin” is not a number. Gloss is, and it’s measured in gloss units (GU) at a 60-degree angle under ASTM D523:
- Matte: under 10 GU
- Eggshell: 10 to 15 GU
- Satin: 26 to 40 GU
- Semi-gloss: 41 to 69 GU
- Full gloss: 70 to 90 GU
That’s a wide range. A “satin” door with a 27 GU gloss level and one with a 39 GU gloss level are both technically called “satin,”. But they look very different when placed side by side across a set of cabinets.
Sheen differences also don’t show up equally. A small 3 GU difference is very noticeable on a matte surface (around 5 GU), but almost invisible on a very glossy surface (around 60 GU).
Renders compound this. The renderer sets a roughness value in software, and that value has no fixed relationship to a real GU reading. Two people can look at the same render and picture two different finishes.
What to ask for: a target GU range at 60 degrees, not an adjective.
Gap 3: The Render’s Light Is Not the Light You’re Buying
This is the largest source of render to reality mismatch, and the easiest to fix.
Renders usually use idealized light: a clean daylight dome, perfectly placed fill, no color cast. Your kitchen gets LED strips, cans, and a pendant over the island, each with its own spectrum.
Two numbers govern the result:
| Term | Meaning | Typical Range |
| CCT (Correlated Color Temperature) | Measures light color, in Kelvin | Warm white: 2700K–3000K |
| CRI (Color Rendering Index) | Measures how accurately colors appear under a light | 0 to 100 (higher = more accurate colors) |
CCT alone doesn’t fully describe how light actually looks. The U.S. Department of Energy explains in its guidance on LED color-tunable products that a light rated at 3500K can be made using many different light combinations. This means the light can appear green or pink, even though it’s still technically labeled as 3500K.
What to ask for: the actual IES photometric files from your lighting package, loaded into the render.
Gap 4: Textures Repeat. Real Stone and Wood Don’t.
A render uses one flat texture on the slab. But real stone has veining that follows its natural pattern. Engineered quartz, the top choice in the Houzz study, can vary between batches. Wood also absorbs stain differently on each board, and grain direction affects how light hits each door.
Renders also tile textures. Look closely at a rendered wood floor and the same knot often shows up three times across one room. Nobody notices in the image. Everybody notices that the real floor looks busier than the picture did.
What to ask for: slab photos of your actual stone, and a layout drawing showing where the veining falls on each run. For wood, approve a stained sample from the same batch that will be milled.
Gap 5: Renders Are Built to Nominal Sizes, Not Installed Reality
In the model, walls are plumb, corners are square, and cabinets sit flush. On site, none of that is guaranteed.
The parts that close that gap rarely appear in a render at all:
- Filler strips and scribe pieces where cabinets meet walls
- Reveal gaps between doors and drawer fronts
- Toe-kick height and setback
- Appliance panel returns and handle clearances
- Outlets, switches, and vent registers in the backsplash
- Range hood ducting and its soffit
None of these are defects. They’re normal carpentry. But if the render shows an unbroken run of cabinets and the build shows a filler strip at the wall, the client feels misled. Ask for elevations alongside the render, and mark where every filler and reveal lands before the cabinets get ordered.
Does Closing These Gaps Cost More or Take Longer?
Usually, a little of both but far less than a redo:
- Finish codes and gloss targets cost nothing. They’re a conversation with your cabinet maker or paint supplier, not an added line item.
- IES files are typically available free from the fixture manufacturer’s spec sheet or product page.
- Slab photos and a veining layout may involve a trip to the stone yard to select and photograph your actual slab before fabrication. This can add a few days if the slab isn’t reserved yet, and is often free if your fabricator already offers slab selection as part of the job.
- A second render pass is the one item that may carry a modest fee, since it’s additional rendering studio time.
What to Ask a Rendering Studio Before You Hire Them
- Do you work from named color codes or from a color the client points to on screen?
- Can you load IES files from our actual lighting package, or do you render with a default studio light?
- Do you request slab photos for stone, or do you use a stock texture?
- Will the render include elevations showing fillers, reveals, and toe-kicks, or just a hero shot?
- Can you provide a normal-focal-length view in addition to the wide hero shot, and an unlit pass on request?
- What’s your revision policy if the finished build doesn’t match the approved render?
A studio that treats these as normal requests, rather than unusual ones, is more likely to produce a render you can hold the build to.
How to Make Kitchen Renders Match the Build
Close the gap with inputs, not with better software.
Treat this table as a render accuracy kitchen checklist before any image gets approved:
| Element | Don’t approve | Do specify |
| Cabinet color | A screen color | Manufacturer code, plus a physical sample viewed in the room, under matching light |
| Sheen | “Satin” | A target GU range at 60 degrees |
| Lighting | “Warm lighting” | CCT, CRI, and IES files for each fixture |
| Stone | A texture map | Photos of your actual slab with a veining layout |
| Cabinet runs | A clean elevation | Elevations showing fillers, reveals, and toe-kicks |
Two more helpful tips:
- First, ask for a second image using a normal focal length. Renders often use a wide-angle lens that makes rooms look bigger than they actually are.
- Second, ask for a plain, unedited image without lighting effects, so you can clearly see the actual room layout without extra visual polish.
Doing these two things turns the comparison between kitchen renders vs reality and the real result from guesswork into something reliable.
Want a render that passes all five specification gaps above? Send us your finish schedule and lighting package, and we’ll build to the numbers.
Conclusion
Kitchen renders fail against the finished build for structural reasons, not lazy ones: color approved by eye, sheen described in words, invented lighting, repeating textures, and nominal dimensions. Specify a color code, a gloss range, real photometric data, and your actual slab, and the gap mostly disappears. The render stops being a mood board and starts being a reference everyone can be held to.
Frequently Asked Questions
Q1: Is a 3D render supposed to be exact?
No. A render is a design communication tool, not a manufacturing drawing. It's accurate to the information it was given, which is why the inputs matter more than the rendering software.
Q2: Why does my cabinet color look different in person?
Three reasons stack up: your screen can't display every pigment, your screen isn't calibrated, and the render's light source differs from your kitchen's. Always approve color from a physical sample under your actual lighting.
Q3: How close should a render be to the finished kitchen?
Layout, proportions, and sightlines should match closely. Color, sheen, and lighting mood will always drift somewhat unless you specify them numerically.
Q4: Can I ask a renderer to fix these gaps?
Yes, and most will. Provide finish codes, gloss targets, IES files, and slab photos. A studio can only model what you give it.