Mixed-Use Development Rendering: A 2026 Guide to Visuals That Win Approvals, Investors and Tenants
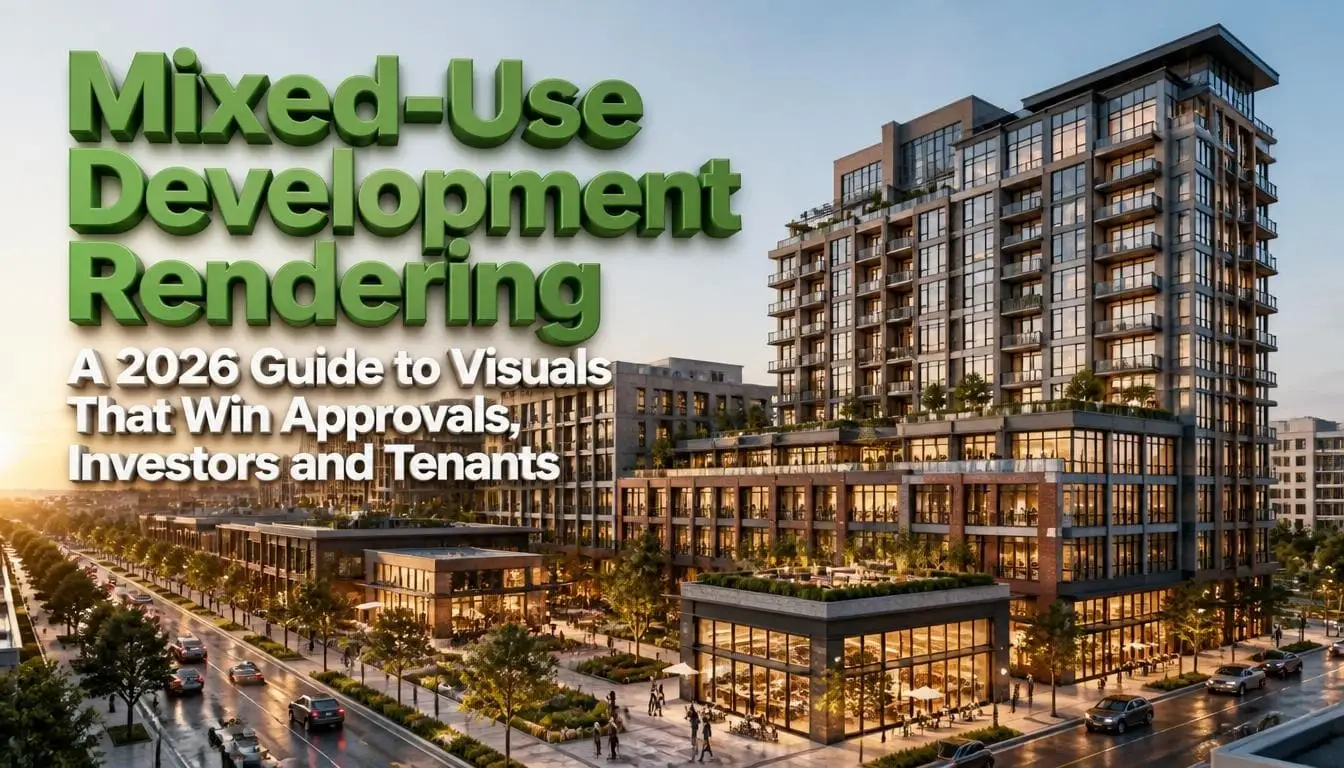
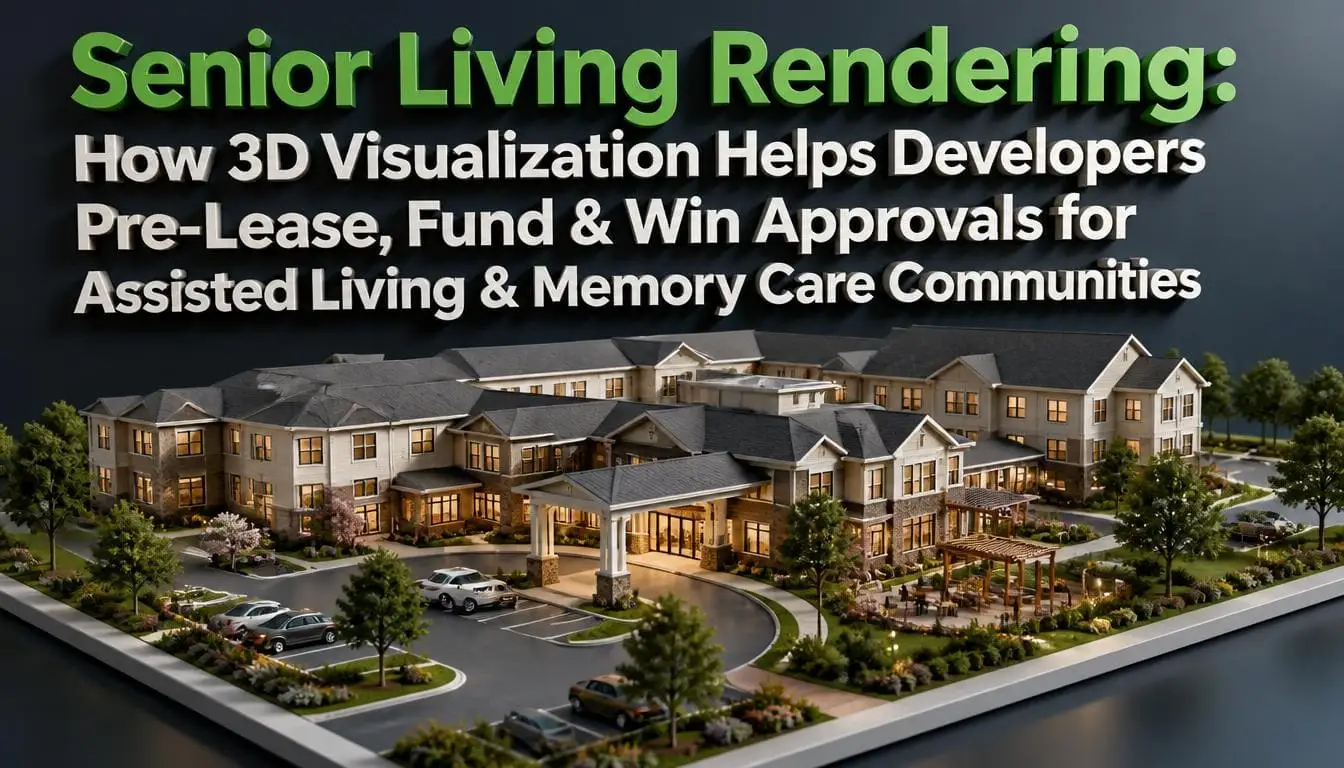
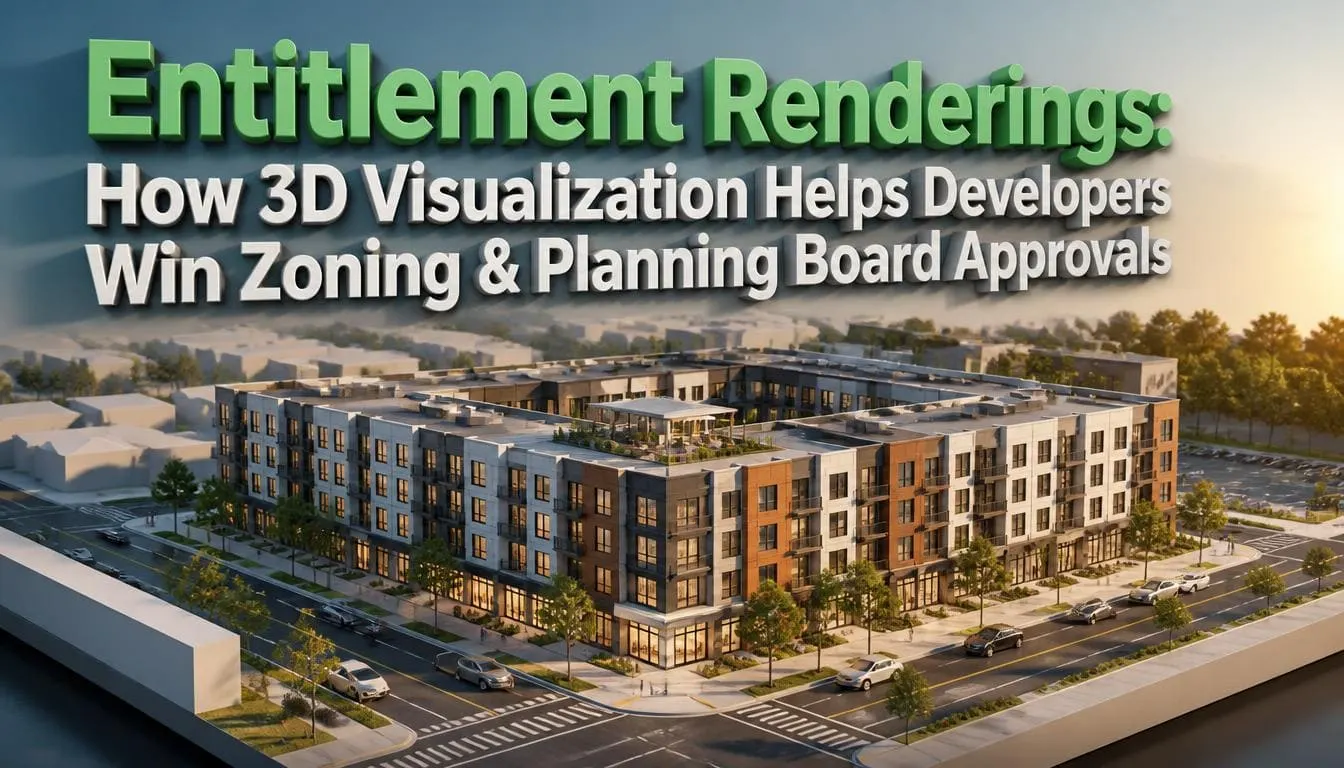
Mixed-use development rendering is a complex process that requires a comprehensive approach to visualize the various components of a project. The mix-use rendering uses 3D images to show how shops, offices, apartments and public spaces fit together on one site. A rendering set has an aerial view of the site layout, a street-level view of the storefronts and entrances, and interior or amenity views for leasing. Each view shows one part of the project to one audience, whether that is a planning reviewer, an investor or a future tenant.
Shoppers and residents walk in from the same sidewalk but use different doors. Commercial rendering services for the shops and offices show which entrances face the street and how visitors reach them. Send the drawings and material references along with a site plan that marks the routes for shoppers, residents and deliveries.
Key Takeaways
- Pick every view for the decision it backs up, a setback check for one person and storefront visibility for another.
- Build one 3D model early and update it as the design develops.
- Match planning views to the submitted drawings. Use lighting and staging to show the approved design in use.
- Send the studio your latest drawings, site notes and materials.
Why Mixed-Use Projects Need Their Own Visual Strategy
Let’s say you’ve got six stories on a corner lot. There’s a grocer at street level, offices on two and three, and people living on the floors above. The grocer cares about one thing, whether drivers stopped at the lights can see the front door. Residents don’t want to walk past the bins and the loading bay to reach the elevator. Planning reviewers may focus on the building’s height along the sidewalk and the shadows it casts.
Use mixed-use architectural rendering to show four details:
- The route from the residential entrance to the elevator.
- Where trucks enter the loading area and how dumpsters are screened from the sidewalk.
- The building’s edge along the sidewalk and how far the upper floors step back.
- The walking route from the plaza to the nearest transit stop.
What the 2026 Market Data Says About Mixed-Use
PwC and the Urban Land Institute’s 2026 Emerging Trends in Real Estate 2027 report put mixed-use and alternative assets in the top two sectors for investment prospects, ahead of multifamily. Mixed-use projects mixed-use projects are moving away from office anchors and leaning on sports, education and entertainment instead. That changes what investors want to see. A mixed-use development rendering has to help prove the numbers, and not only make the project look good.
Core Views in a Mixed-Use Development Rendering Package
Most projects start with three of the following views. Larger projects add more as each phase begins.
Aerial and masterplan views
A mixed-use masterplan rendering shows the aerial view. Planners use it to assess the project’s scale and investors use it to see how the buildings and open spaces work together. For phased projects, show the first phase in detail. Use simple building shapes for later phases and label them as conceptual.
Street-level views
A streetscape rendering shows the street the way a pedestrian sees it, with the building rising straight from the sidewalk. Get the sidewalk width, the tree spacing and the lighting right. Pick a spot the public can really stand in, like the bus stop on the corner. A reviewer who walks over and stands there sees what your picture shows.
Ground-floor retail views
Brokers start leasing shops from a picture before construction begins, so the retail podium rendering is the first image they ask for. They want to see the height of the glass, the position of the sign band and the room for four outdoor tables. Put all of that in the image, and use made-up shop names until the leases are signed.
Residential and amenity views
Renters and buyers want to see the spaces they use every day. Show the roof terrace, the gym, the lobby and the view from an apartment window. Pick two interiors with different strengths, such as the living room light and the kitchen counter space.
Dusk and night views
A dusk image shows the site after dark. Lit shopfronts and a clear path from the sidewalk to the apartment entrance all belong in it. Bring this one to community meetings to show where the lights go along the walkways and near the doors.
Matching Each Image to Its Audience
Choose the angle for a mixed-use building rendering by who needs to see it. A planner wants to know how far the building sits back from the property line. A leasing agent wants to know whether someone walking down the sidewalk notices the shop.
| Audience | Main question | Best views | Accuracy level |
| Planning board / design review | Does it fit the context and the code? | Aerial in context, eye-level views from public vantage points, massing comparisons | Highest: measurable and verifiable |
| Equity investors and lenders | What supports leasing demand and long-term occupancy? | Aerial with anchors, street activation, amenity hero | High: matches the current design |
| Retail tenants and brokers | Will my store be seen and get traffic? | Frontage, corner views, outdoor dining | High at grade, with generic branding |
| Residents and buyers | Would I want to live here? | Lobby, amenities, unit interiors, view studies | Moderate: atmosphere allowed, finishes must be real |
| Community and media | What changes on my street? | Before-and-after, dusk activity, public realm | High: no flattering distortion |
Sequence Production From One Model
Start 3D rendering for mixed-use developments with one accurate model. Update the model as the design changes. Use the same model for each stage below.
- Entitlement: Show the building’s size and shape alongside nearby buildings.
- Financing: Once the design is approved, use an aerial view to show the main tenant spaces, access routes, and project phases
- Retail leasing: Show shopfronts and corner shots, sometimes with two or three storefront options to choose from.
- Residential pre-sales or lease-up: Lobby, amenities and a couple of apartment interiors, and a 360° tour.
Accuracy Rules for Approval-Stage Images
Use the submitted drawings as the reference for every planning image.
Match the submitted drawings exactly
Match the building height, setbacks, floor count, and street wall to the submitted drawings
Use realistic cameras and lenses
Choose a lens that shows the building’s scale accurately. Ask the planning authority whether the submission requires verified views or surveyed camera positions.
Label what is conceptual
Label placeholder signs, future phases, and unconfirmed landscaping as illustrative.
Stage people and landscaping honestly
Show planting at the expected opening-day size. Match pedestrian activity to the location and time of day.
Start with zoning and planning approval renders for the board review. Show the building’s size, setbacks, and surrounding streets and buildings. Save lifestyle images for leasing and marketing.
What to Send Your Rendering Studio
For mixed-use development visualization, send the studio the current drawings and a shot list before production starts.
- The latest architectural drawings and CAD or BIM files in a format agreed with the studio.
- The site plan, the survey and a few phone photos of the street and the buildings around it.
- A materials and finishes list, with photos or product links.
- The landscape plan.
- Brand guidelines and the tenant mix you’re hoping for.
- A one-page shot list saying who each view is for and where each image appears.
How to Choose a Studio and Control Revisions
Review the studio’s portfolio. Ask about planning submissions, revisions, and file ownership on the first call.
- Examples of renderings prepared for a planning submission or public hearing.
- A mixed-use rendering project that shows how shops, homes, and public spaces connect.
- The charges for design changes after model approval
- Who signs off each stage on their end
- Who owns the images and the model once it’s all done
Final Word
A mixed-use development rendering set works when each image has one clear job. Decide who every view is for. Build a single accurate model. Keep the planning images true to the drawings. Give the studio a complete brief. Do these four things well, and the same images can carry the project from the first board meeting to the final lease.
Frequently Asked Questions
Q1: How many renders does a mixed-use project need?
It depends on size. A small infill building needs four or five images: one aerial, two street views, one of the shops and one of the amenities. A large phased site needs many more, made in batches as each phase starts.
Q2: When should I start getting renders made?
Earlier than most developers think. Bring an image to the first planning meeting and the city and neighbors see the real size of the building. You also get a 3D model that keeps paying off when investors, retail tenants and buyers come along.
Q3: Can I use the same images for planning and for marketing?
Some of them, yes, but only when both sets come from the same model. Planning images must match your drawings exactly. Marketing images can have more people, warmer light and a nicer mood. The building in them must still be the approved design.
Q4: What should I send to the rendering studio?
Send the drawings, the 3D or CAD file, the site plan, a few photos of the area, a materials list and the landscape plan. Add a short shot list that says who each view is for. It saves a lot of emails going back and forth.
Q5: Are AI images good enough for a mixed-use project?
AI images work for early ideas and mood boards. They aren’t built from your drawings, so the heights, sizes and materials can come out wrong. Keep them away from planning boards, lenders and brokers, because those audiences need an accurate 3D model.