Climate-Aware Rendering: Why Most 3D Visualizations Ignore Passive Solar Design (2026 Sustainability Gap)
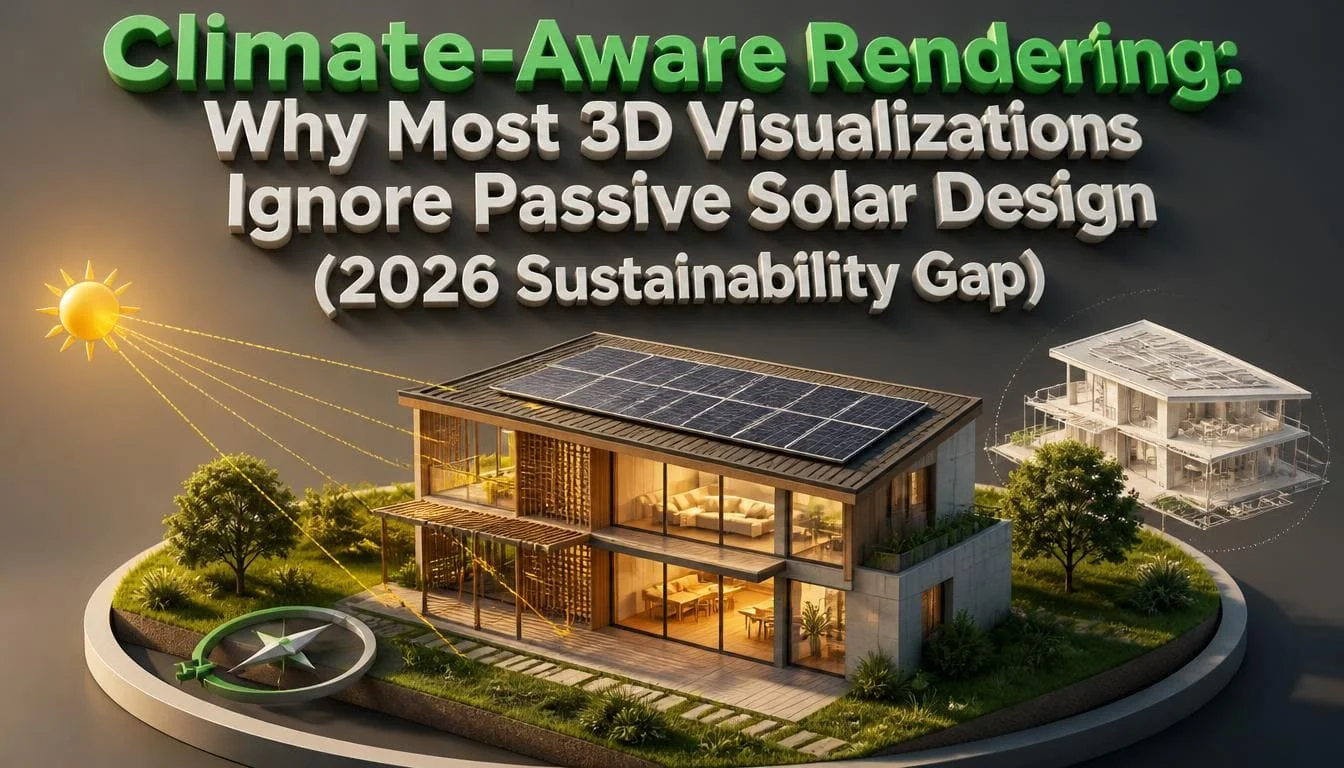
Climate-aware rendering is a 3D visualization built on real site data. It includes three things: the sun path, local weather, and the materials. It shows how a design will perform through the seasons. Most renderings are built to look good, not to test performance. So passive solar features like window placement and shade go unchecked.
Many teams hire architectural visualization services to win approvals. That is a fair goal. But an image made to sell is not an image made to test.
Want to see how your design performs, not just how it looks? Talk to an expert team about climate-aware renders.
How Does Passive Solar Design Work?
The U.S. Department of Energy keeps it simple: passive solar homes capture warmth through south-facing windows and store it in thermal mass. The materials used are concrete, brick, stone, or tile.
The core passive solar design principles and best practices work together as one system:
- Windows face the sun so it reaches space in winter.
- It absorbs heat by day and releases it into the house.
- The share of heating the sun can cover depends on the glass area and the amount of thermal mass. The best ratio changes by climate.
- Nothing should block sunlight from reaching the thermal mass.
- Good designers plan for summer comfort, not only winter heat.
DOE also says a well-designed home first cuts its heating and cooling loads with efficiency measures. Then it meets the smaller load with the sun. A render that shows only one part of it tells only part of the story.
Why Do Most 3D Visualizations Ignore Passive Solar Design?
Most renders are built for beauty. In a typical render, the artist picks the sun angle that gives the best light. The sky is clear. The glass looks clean and bright. None of this is wrong for a sales image. But none of it is tied to the real site.
Three reasons are common:
- The brief asks for a mood image.
- The schedule is tight.
- The energy model often sits with the engineer.
So an image can show a big south window flooded with light and say nothing about summer heat. It can show a dark stone floor without showing whether winter sun ever reaches it. That mismatch is the sustainability gap architectural visualization has yet to close.
What Makes Climate-Aware Rendering Different From a Standard Render?
A standard render shows how a building looks. A climate-based render shows how it behaves. It uses real inputs, not art choices.
| Feature | Standard render | Climate-based render |
| Sun angle | Picked for the best look | Set by site location, date, and hour |
| Sky and weather | Clear and pleasant | Based on local climate data |
| Seasons | One image, one season | Winter and summer views |
| Glass | Shown clean and bright | Shows heat and light entering |
| Materials | Chosen for style | Chosen with heat storage in mind |
| Purpose | Sell the design | Test and explain the design |
Passive solar design visualization starts with the site’s location, and the date and hour of each view. Every picture then answers a real question. Where does the sun land at noon in December? Which rooms get shade in July?
Climate-responsive architecture rendering also changes from place to place. DOE notes that the best balance of thermal mass and glass varies by climate. A hot, dry site and a cold site need different answers, and the visuals should show that.
What Can These Visuals Actually Show?
Three types of views cover most needs. Each one answers a different question.
How Do You Show Sunlight Entering a Room?
Solar gain visualization mapping shows how deep light reaches throughout the day. Side-by-side winter and summer views quickly prove if a room gets warm winter sun while staying shaded in July.
How Do You Show Natural Light Levels?
Daylighting simulation rendering highlights bright spot glare and dark corners. This helps designers tweak window sizes and glass types well before building.
How Do You Show Heat and Comfort?
Thermal performance rendering turns temperature data into visual maps. They spot room heat traps and show how surfaces store warmth—like a dark floor that heats a space in winter, provided it is shaded come summer.
What Common Mistakes Should You Avoid?
Most errors come from small shortcuts. Watch for these:
- One sun angle for every view. The sun moves. One angle hides summer and winter problems.
- Ignoring nearby shade. A tall tree or a neighbor’s building can block winter sun. Include them.
- Mixing up plans north and true north. A drawing’s “up” is not always north. A small error changes where the sun lands.
- Furniture over thermal mass. DOE says objects should not block sunlight on thermal mass. Rugs and large pieces can do exactly that. (U.S. Department of Energy)
- Big glass with no summer shade. Winter gain is a benefit. Summer gain is a problem unless shade blocks it.
- Perfect looks, wrong data. A render can look right and still be wrong. Look for labels, dates, and data sources.
How Can Teams Close the Gap in Practice?
You need to follow this simple order:
- Collect site data. Note the location, true north, and any trees or buildings that cast shade.
- Get the energy model early. Ask the design team for results before the first image is built.
- Pick key dates. Use one winter day, one summer day, and one in between.
- Use real properties. Set glass, shade, and material values from the actual design, not from what looks best.
- Render the same view on each date. Label each image with the sun angle and the date.
- Update as the design changes. AIA notes that comparing options should continue as the design moves forward.
Conclusion
Good-looking images are easy to make. Honest images take more work. Climate-aware rendering ties every picture to a real site, a real sun path, and real materials. It shows how a design will feel in July as well as December. The gap between pretty and proven is real. According to the AIA 2021 2030 Commitment By the Numbers Report, participating design teams achieved an average predicted energy reduction of 52.3% with energy modeling versus 46.4% without it. Renders that carry performance data help close that gap and build client trust.
Want renders that show how your building performs, not just how it looks? Talk to an expert team about site-accurate visuals for your next project.
Frequently Asked Questions
Q1: Does a normal 3D render show how a building will perform?
No. Standard renders only show appearance. Without local site data, sun paths, and material specs, they say nothing about heat or light. To gauge performance, request renders tied to specific dates, locations, and energy models.
Q2: What data is needed to show the sun and climate correctly?
You need the exact location, true north, target dates, and times. Add in window specs, material properties, local weather data, and nearby shade (like trees or buildings). Without these, lighting is pure guesswork.
Q3: Which way should windows face for passive solar heating?
In the U.S., south-facing windows collect the most heat, which interior materials then store. Because optimal glass-to-mass ratios vary by climate, teams should model these trade-offs early.
Q4: Can a render replace an energy model?
No. Renders illustrate design, while energy models calculate performance. AIA data shows that projects using energy models achieve significantly higher energy savings, making early modeling essential.