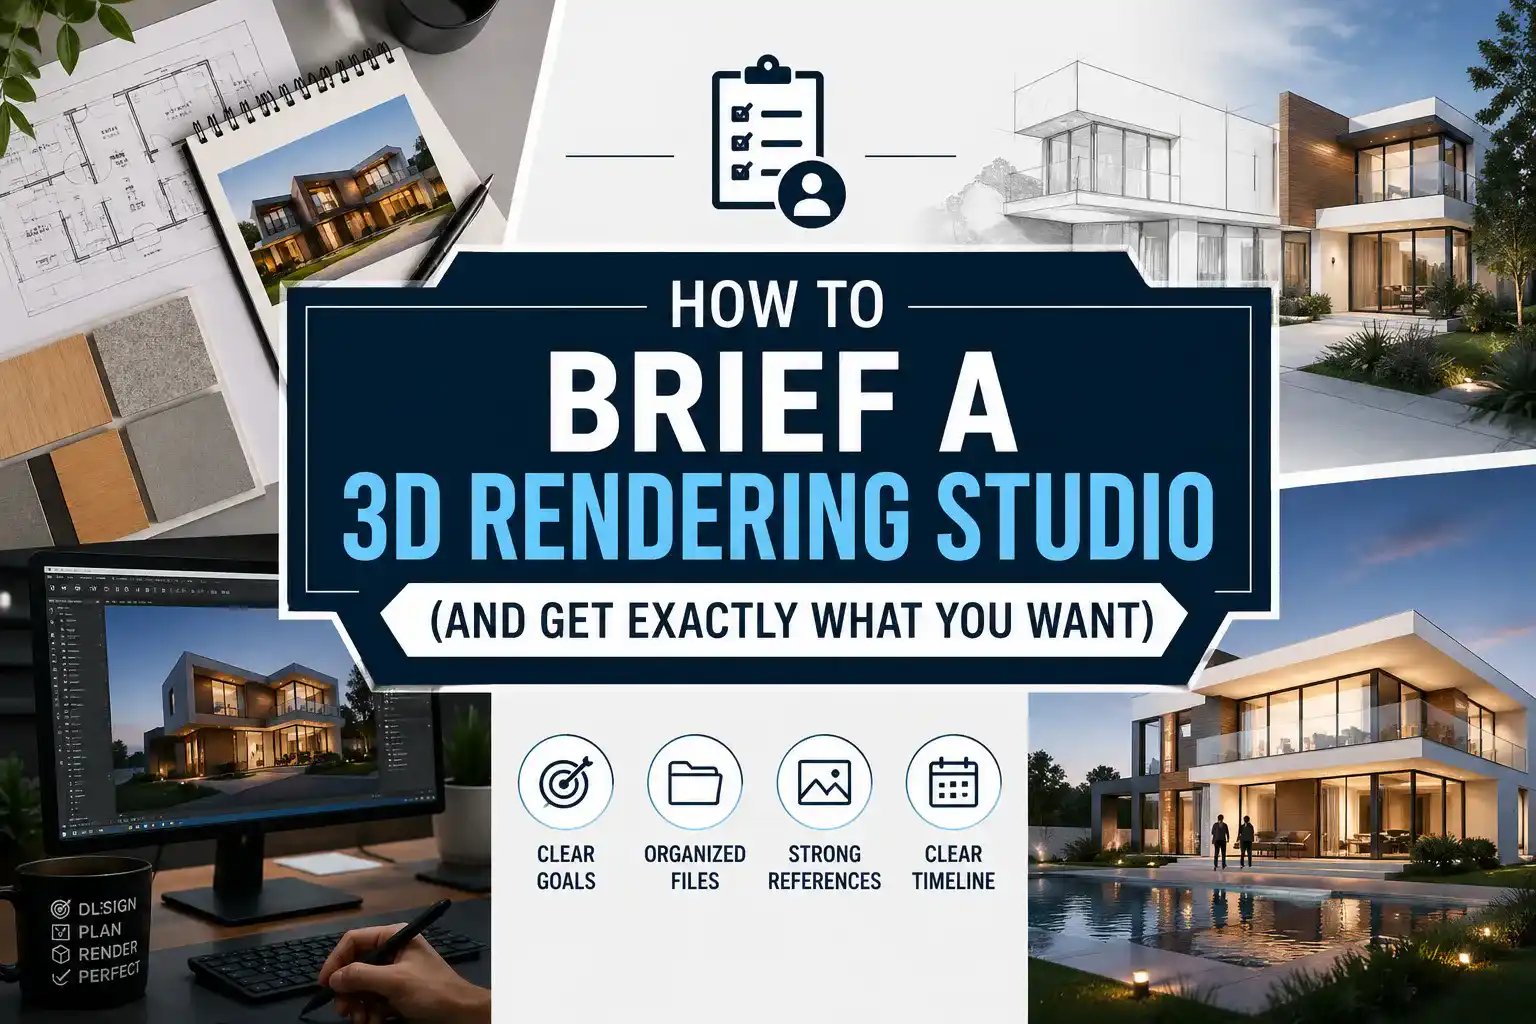
How to Brief a 3D Rendering Studio (And Get Exactly What You Want)
You have found the best 3D rendering studio for your job. Their portfolio is according to your needs and the quotes are the right fit for your budget. Then the project goes sideways!
Not because of the lack of skills. Because your brief was not on point!
The renders come back in the wrong mood. The angles are not what you expected. Suddenly, you are out of budget because of multiple revisions. This situation is now becoming common. But, it is avoidable! You need to give a well-crafted brief before a single thing is modeled. It will protect your investment and timelines. We will show you how to write a perfect brief.
Why the Brief Is Everything
Currently, 3D rendering workflows are faster and smarter. Everyone can easily collaborate more than ever with the help of advanced AI tools. This helps the studios to deliver realistic photorealistic results in compressed timelines.
But the thing here to understand is that the tech do not eliminate the need for clear human communication.
A faster studio can produce the wrong result faster, too.
However, a well-crafted brief is the best investment. This will guarantee your 3D visualization project is delivered on time and on budget.
Also, reliable 3D rendering services are developed carefully by the experts. They fully understand the needs of the client and move on.
Ways to brief a 3D rendering studio
Step 1: Define the Purpose
Before even sharing a single file, you need to be clear on two things.
- why these renders exist
- who they’re for
Ask yourself:
- Is this for marketing?
- Who is the target viewer?
- What emotion should the render trigger?
- Where will the images appear?
Photorealistic visuals are only effective if they connect with your target audience.
Step 2: Provide All Your Project Files
A render studio can get confused with a loaded email and unorganized files. So, package your files before you send them and label everyone clearly. You need to include these important files:
- Architectural drawings
- 3D models
- Landscape and lighting plans
- Material specifications
- Site photography or drone footage
Step 3: Build a Strong Reference Pack
If you write the descriptions of style and mood then stop!
It will always be misread.
“Modern and warm” means ten different things to ten different people.
The solution is to provide visuals or references. It can be:
- Inspiration images for the overall style and mood
- Lighting references
- Material and texture examples
- Comparable renders you admire and
- Lifestyle and people references
A right reference will keep the workflow predictable. It helps the experts match the concept from the start. A professional architectural rendering studio considers a reference pack as a gift. It removes all the ambiguities.
Step 4: Specify Camera Angles and Output Requirements
The selection of the camera is a creative decision that shapes how a project is perceived. If the aerial view is provided, then it shows scale and context. It creates an emotional connection. So, your checklist must include:
- List each specific view you require
- Note the approximate field of view
- Indicate time of day
- Flag any views that showcase specific design features the client is proud of
Step 5: Set a Clear Timeline
Timeline mismanagement is the second most common source of project frustration after a false brief.
So, be real and be specific.
Photorealistic renderings take 7–14 business days to complete. A fast project may take 3–5 days but usually comes with a 30% to 50% surcharge. Make sure to:
- Key review stages
- Number of revision rounds included
- Who on your team has approval authority at each stage
You need to set the rules early because it will keep everyone safe.
This makes sure that the work keeps on moving and prevents unexpected expenses. Confirm how many revisions are allowed before starting.
This stops the project from getting stuck.
Step 6: Communicate the Narrative
The best 3D rendering company provides a full story. Before you send the brief, take a moment to revise the project needs in plain language.
Like what is special about this design? What feeling should someone have when they first see the image?
Narrative prompts to answer in your brief:
- What is the single most important design feature to highlight?
- What lifestyle does the project represent?
- Are there any design decisions the team is particularly proud of that must be visible?
- Is there anything that must be avoided
The Brief Checklist
This is the short checklist that you need to look at before you send your brief:
- Project purpose and audience defined in writing
- All architectural files organized and labeled
- 3D models included if available
- Material and finish schedules attached
- Reference images for style, lighting, and mood
- Specific camera views listed with time-of-day notes
- Technical output specs confirmed (resolution, format, ratio)
- Timeline and milestone dates agreed upon
- Revision rounds and approval contacts named
- Project narrative written in one or two clear paragraphs
Final Thought
The rendering studio is not your mind reader. Keep in mind that the quality of the project is directly linked to the clarity. Invest a good amount of time in these things that we have mentioned. So, the better you brief, the better your results will be!

