
Luxury Kitchen Design: Layouts, Materials & 3D Rendering Guide
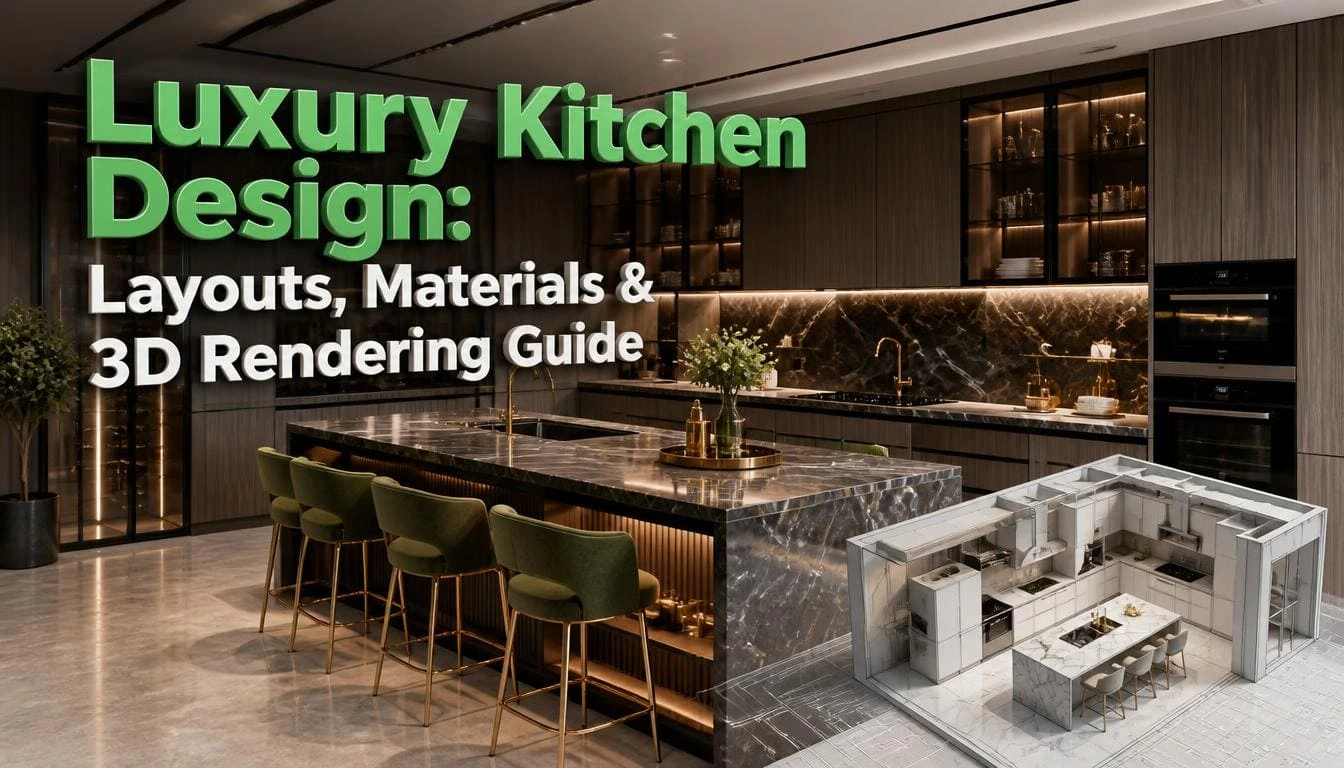
Luxury kitchen design comes down to three decisions: a layout with correct clearances, materials that survive daily cooking, and photorealistic renders that prove the plan works before you buy anything. Expect $150,000 to $250,000 for a true high-end build in 2026. The layout drives everything else, so settle it first. Materials and finishes follow.
Worried you’ll hate the finish after installation? A 3D interior rendering shows the finished kitchen first, so you can approve the design before spending money.
What Actually Makes a Kitchen “Luxury” and Not Just Expensive?
Luxury is precision, not price. A $200,000 kitchen with a 38-inch aisle feels cramped every single day. A well-planned kitchen at half that cost feels effortless because the distances, heights, and sightlines are right.
Three things separate the two:
- Fit: Cabinets are built to the wall, not to a catalog. Fillers disappear. Reveals stay consistent at 1/8 inch.
- Function under load: The kitchen still works when four people are in it, and the oven is full.
- Material honesty: Real stone, real wood, solid brass. Not printed lookalikes.
Anyone can buy an expensive range. Almost nobody gets the 6 inches of landing space beside it right on the first try.
In practice, the single most common complaint after a high-end remodel is not the finish choice. It’s the dishwasher door blocking the sink drawer. That’s a layout error, and it costs nothing to catch on paper.
What Does a Luxury Kitchen Cost in 2026?
A high-end kitchen costs $150,000 to $250,000+, with $164,104 as the national benchmark for a major upscale remodel. That figure comes from the 2025 Cost vs. Value Report published by Zonda Media, which tracked 28 project types across 119 U.S. markets.
Where the Money Goes
| Line item | Share of budget | Typical spend on a $180,000 kitchen |
| Cabinetry (custom) | 30–40% | $54,000–$72,000 |
| Appliances | 12–18% | $21,600–$32,400 |
| Countertops & slab backsplash | 10–15% | $18,000–$27,000 |
| Labor & installation | 15–20% | $27,000–$36,000 |
| Plumbing & electrical | 6–10% | $10,800–$18,000 |
| Flooring | 4–7% | $7,200–$12,600 |
| Lighting & fixtures | 3–6% | $5,400–$10,800 |
| Design fees & renders | 5–10% | $9,000–$18,000 |
Which Luxury Kitchen Layouts Work Best?
The best layout is the one that gives you a 48-inch work aisle and at least 36 inches of continuous prep counter. Everything else is style.
| Layout | Best room size | Real advantage | Watch out for |
| Single-wall + island | 12–15 ft wide | Clean sightlines, cheap plumbing runs | All storage on one wall; needs a tall bank |
| Galley (two facing runs) | 10–14 ft wide | Fastest workflow, zero wasted corners | Feels like a corridor if under 48 in. |
| L-shape + island | 200–350 sq ft | Most flexible; easy to zone | Corner cabinets waste space without a blind pull-out |
| U-shape | 220+ sq ft | Maximum counter and storage | Third wall can block light |
| Double island | 350+ sq ft | Separates prep from social | Needs 42–48 in. on both sides of each island |
| Kitchen + scullery | 300+ sq ft total | Main room stays spotless | Adds $25,000–$60,000 |
Only 7% of renovating homeowners add a butler’s pantry or prep kitchen, according to the Houzz 2026 study. This makes it one of the strongest ways to make a kitchen feel genuinely custom rather than simply expensive.
Is the Work Triangle Still Relevant?
Partly. The triangle still catches bad plans. Total distance should stay between 13 and 26 feet, with each leg 4 to 9 feet. But it assumes one cook and three appliances, which no longer matches how large kitchens are used.
Zone planning works better above 250 square feet. Build five zones: store, prep, cook, clean, and serve. Each zone gets its own counter, its own storage, and its own outlet. Then test the triangle inside the cook and clean zones only.
Which High-End Kitchen Materials Are Worth the Money?
Buy performance for horizontal surfaces and buy beauty for vertical ones. Countertops take heat, acid, and knives every day. A backsplash takes almost nothing. That’s where you can use the delicate marble you love.
Which Countertop Should You Choose?
| Material | Heat | Acid etching | Stains | Sealing | Cost/sq ft installed |
| Marble (Calacatta, Statuario) | Good | Etches easily | Prone | Every 6–12 mo. | $125–$300 |
| Quartzite (Taj Mahal, Mont Blanc) | Excellent | Resists | Low | Every 1–2 yr. | $120–$250 |
| Engineered quartz | Scorches ~300°F | Resists | Very low | Never | $70–$160 |
| Porcelain slab | Excellent | Resists | Very low | Never | $95–$200 |
| Soapstone | Excellent | Immune | Low | Oil only | $90–$180 |
| Granite (exotic) | Excellent | Resists | Low | Every 1–2 yr. | $80–$200 |
What Makes Cabinetry “Custom,” and Is It Worth It?
Custom means built to your wall dimensions with your choice of box material, hinge, and interior fittings. Semi-custom means catalog sizes with modified finishes. The visible difference is the filler strip: custom kitchens rarely have one.
Where the money genuinely shows:
- Box material: Furniture-grade plywood or solid wood, never particleboard, especially under a stone counter.
- Drawers everywhere: Full-extension, soft-close, 100 lb rated. Base cabinets with doors waste a third of their volume.
- Interior finishing: Real luxury kitchens are finished inside the drawer in the same species as the front.
- Door style: Flat slab fronts now lead high-end design. 69% of NKBA respondents named them as gaining ground for 2026, along with panel-faced refrigeration (72%) and integrated dishwashers (85%).
Skip custom on the pantry interior and the appliance garage. Nobody sees them. Put that money into the island.
Which Metal Finishes Age Well?
Unlacquered brass and living finishes age well. PVD finishes stay identical forever. Choose based on whether you want change or consistency.
- Unlacquered brass: darkens in months and develops patina around handles. People either love it or hate it by month three.
- PVD brushed brass or gold: looks the same in year ten. It costs more upfront and has zero maintenance.
- Matte black: shows water spots on faucets far more than photographs suggest.
- Polished nickel: the safest warm-neutral. Ages better than chrome and works with both brass and steel.
Mixing metals works when you split by function: one finish for plumbing, another for cabinet hardware, and a third for lighting. Random mixing looks like a mistake.
How Do You Get Luxury Kitchen Lighting Right?
Build four separate layers on four separate switches. Almost every high-end kitchen has beautiful cabinets and one layer of recessed cans.
| Layer | Purpose | Spec to ask for |
| Task | Counter work | Under-cabinet LED, 2700–3000K, 90+ CRI |
| Ambient | Overall fill | Recessed on dimmers, 30–36 in. from wall |
| Accent | Depth and mood | In-cabinet, toe-kick, shelf strips |
| Decorative | The visual anchor | Pendants, 30–36 in. above the island |
Two specs matter more than fixture brand. CRI 90 or higher, or your walnut cabinets will look grey and your food will look dead. And one consistent color temperature across every fixture because mismatched whites are the fastest way to make a $200,000 kitchen look cheap on camera.
Natural light matters just as much. NKBA’s 2026 research found natural lighting the top kitchen design consideration for homeowners at 95%, with quality lighting at 93% and task lighting for work zones at 92%.
How Does 3D Rendering Help in Luxury Kitchen Design?
Rendering is where you find the mistakes. A photorealistic model shows your actual slab, your actual cabinet color, and your actual light fixtures in the real room proportions before a single cabinet is ordered.
The value is not the pretty picture. It’s the decision it forces. A 3D interior rendering makes vague conversations concrete: you stop discussing “warm white oak” and start approving a specific stain against a specific counter under your specific pendants.
Real examples of what renders catch:
- A range hood that collides with a beam once ceiling height is modeled honestly.
- Counter-height seating with no knee room because corbels were drawn late.
- A backsplash slab whose veining runs sideways because the fabricator planned to bookmatch it the wrong way.
- Pendants sized for a magazine photo that look absurd over an 8-foot island.
Every one of those costs nothing to fix in software. All four cost thousands to fix after installation.
What Should a Rendering Package Include?
A complete luxury kitchen 3D rendering package includes six deliverables, not one hero image:
- Dimensioned 2D floor plan with all clearances labeled.
- Elevations of every wall, showing cabinet heights and outlet locations.
- Three to four photorealistic camera views like entry view, cook view, island view, and seated view.
- Material board matched to the render, with real product names and finish codes.
- Two lighting states such as daylight and evening because kitchens look completely different at night.
- One walkthrough or 360° view, which is the only way to judge whether the room feels tight.
Insist that the render use the actual slab photograph, not a generic marble texture. Stone is unique, and a render built from a library texture tells you nothing about the piece you’re buying.
How Much Does 3D Rendering Cost and How Long Does It Take?
Expect $400 to $1,500 per view for photorealistic quality and 5 to 12 business days for a full kitchen package, including one revision round.
| Type | Typical cost | Turnaround | Use it for |
| Basic 3D model / white massing | $150–$400 | 2–3 days | Testing layout options |
| Photoreal still image | $400–$1,500 per view | 5–8 days | Final material approval |
| 360° panorama | $600–$1,800 | 6–10 days | Judging how the room feels |
| Animated walkthrough | $1,500–$5,000 | 10–20 days | Large or multi-room projects |
The included design-software renders from a kitchen showroom are usually free but low-fidelity. They’re fine for layout, useless for material decisions. Budget for one round of proper renders after the layout is locked and before the cabinet deposit.
How Do You Spot a Render That’s Hiding Problems?
Look for missing ceilings, hidden appliances, and impossible lighting. Renderers use these tricks to make a space look better than it is.
Warning signs:
- No ceiling in frame. Hides ductwork conflicts and low soffits.
- Camera below 4 feet. A low camera exaggerates ceiling height and island size.
- Wide-angle distortion. Anything beyond a 24mm equivalent stretches the room.
- No visible outlets or switches. They exist in reality. If they’re not modeled, nobody planned them.
- Perfect ambient light with no visible source. The room won’t look like that at 7 pm in January.
Ask for one view shot at eye level, 5 feet 6 inches, with a 35 mm lens equivalent and all fixtures on. That’s the render that tells the truth.
The Bottom Line
Good luxury kitchen design is decided long before anyone chooses a faucet. Get the aisle widths right, put your material budget where hands and heat actually land, and approve a photoreal render before the cabinet order goes in. Start with the layout because everything expensive downstream depends on it.
Frequently Asked Questions
Q1: Do I really need 3D renders, or is a floor plan enough?
You need both. A floor plan proves the layout works. Renders prove the materials work together and catch vertical conflicts a plan can't show like hood clearance, ceiling beams, pendant scale, and veining direction. The render usually costs 1 to 3% of the project and routinely prevents changes that cost far more than that.
Q2: What's the biggest layout mistake in large kitchens?
Making the island too big. Once an island passes 48 inches deep, you can't reach the center from either side, so the middle becomes a permanent clutter zone. Two smaller islands almost always outperform one enormous one in kitchens over 350 square feet because they separate messy prep from where guests sit.
Q3: How long do custom cabinets take to arrive?
Ten to sixteen weeks from approved shop drawings for most custom cabinet makers and up to twenty weeks for imported European lines or specialty veneers. This is the single longest step in the project. Order appliances first so the cabinet shop can verify openings against the exact models you bought.
Q4: How do you make a kitchen look luxurious without a luxury budget?
Fix the proportions first. Take cabinets to the ceiling, hang pendants 30 to 36 inches above the island, and keep reveals consistent. Then spend on the three things people touch and see: counters, hardware, and lighting. Use one stone, not three. Put real material where hands land and save the budget everywhere else.