Student Housing Rendering: A Bed-by-Bed Guide to Visuals That Lease Purpose-Built Communities Before Opening Day
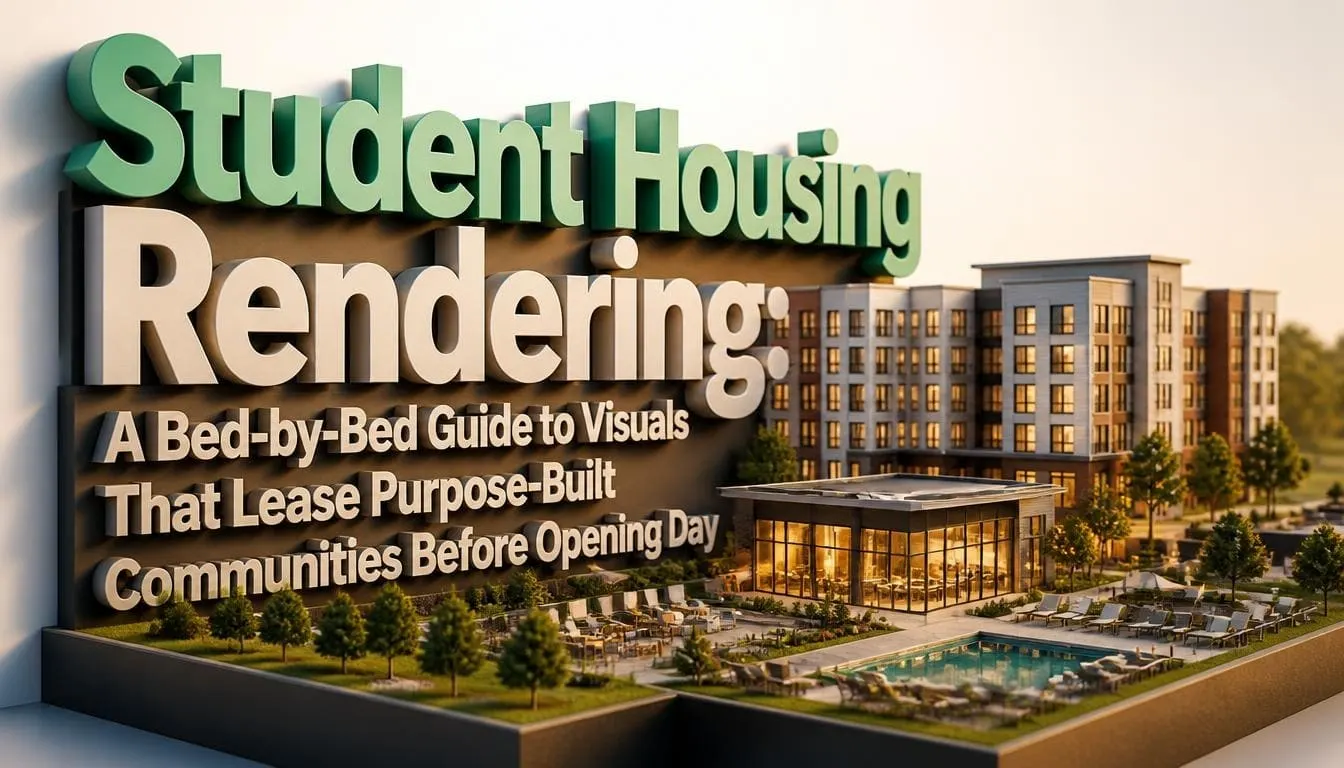
Student housing rendering helps property developers and operators lease individual beds before a building opens. Student housing 3D rendering shows students what their bedrooms, bathrooms, shared spaces, and amenities will look like. Clear 3D images help Gen Z renters and their parents compare room options, check facilities, and decide with confidence. For owners and investors, these visuals help start leasing early and build interest before construction ends.
Student housing works differently from normal apartment renting. Students often sign a separate lease for one bedroom, while they share the kitchen, living room, and other spaces with others. So one picture of the building’s outside cannot tell a student everything they need to know.
The challenge is to present the entire living experience before anyone can walk through the finished property. You need to show the building, explain each bed option, and help students picture their daily lives there. That is why many developers and operators outsource 3D interior rendering for amenity spaces to show every detail of the property, from how each private bedroom will look to how the shared kitchen, lounge, and other common areas will look. The right visual package makes that process much easier.
What Is Student Housing Rendering?
Student housing rendering is the process of creating realistic 3D images of a planned student accommodation property before construction is complete. These images show the building exterior, individual bedrooms, apartment layouts, bathrooms, amenities, and surrounding areas.
The purpose is simple. It helps students understand what they are renting and helps property teams market the community before opening day.
A complete student housing visualization package can include:
- 3D exterior rendering: Shows the building’s architecture, entrance, landscaping, and outdoor areas.
- 3D interior rendering: Presents bedrooms, kitchens, living rooms, and furnished apartments.
- 3D floor plan renders: Explain bedroom positions, bathroom arrangements, and shared spaces.
- Amenity renderings: Show study lounges, fitness centers, pools, and social areas.
- Aerial renderings: Aerial renderings present the property, surrounding streets, and nearby university facilities.
- Virtual tours: Student housing virtual tours allow students to explore planned rooms and shared facilities remotely.
Each visual serves a different purpose. An exterior image introduces the property, while a floor plan helps students choose a specific bedroom. Interior and amenity images then show what living in the community will feel like.
A purpose-built student housing rendering package should follow the actual architectural plans, furniture selections, and approved finishes. This keeps marketing images close to what residents will receive.
Why Does Student Housing Require Visuals Before Opening Day?
Student housing needs early marketing because leasing follows the academic calendar, not the normal apartment rental cycle. Properties often start pre-leasing many months before the next academic year, even when the building is still being built.
The Academic Calendar Sets the Leasing Schedule
Most student housing communities target August or September occupancy in U.S. university markets. Pre-leasing often starts around October or November of the previous year, although the exact timing depends on the university and local market.
This gives students several months to compare accommodation options and secure a room before classes begin.
A typical leasing cycle looks like this:
- October to November: Communities launch pre-leasing and introduce their available apartment types.
- December to January: Students compare bedroom layouts, rental prices, amenities, and locations.
- February to May: Leasing teams work to convert enquiries into signed leases.
- June to August: Teams fill remaining beds and prepare the property for move-in.
For a property that is still under construction, this creates a challenge. Students need to choose their accommodation before the finished bedrooms and amenities are available to view.
That is where 3D visual marketing becomes important. Instead of asking students to imagine an unfinished building, you can show them what their future accommodation will look like.
The Importance of Early Leasing Marketing
According to RealPage’s September 2026 Student Housing Update, 95.9% of U.S. student housing beds were pre-leased for Fall 2026 by August 2026. The report also identified this as one of the strongest August leasing results in a decade.
This shows how much leasing activity happens before the academic year begins. Properties need their marketing materials ready early enough to compete for students during this period.
How Should You Plan a Bed-by-Bed Visual Package?
A bed-by-bed visual package should show every important difference between the available bedrooms, bathrooms, and shared spaces. Students are not always renting an entire apartment. They are choosing one room within a larger shared unit.
For example, a student looking at a four-bedroom apartment wants to know which bedroom they will receive, whether its bathroom is private, and how much space is available.
A single living room image cannot answer these questions. The following visuals help explain each option.
-
3D Floor Plans for Individual Bed Selection
A 3D floor plan shows the complete apartment layout, including private bedrooms and shared facilities. It helps students understand how each bed connects with the rest of the unit. Many developers and property managers outsource 3D floor plan rendering services because flat 2D drawings are hard for students to read, which leads to confusion, repeated questions, and slower leasing. Outsourcing also saves them the cost of an in-house design team and ensures every floor plan is accurate, consistent with the leasing inventory, and ready for online bed selection.
Common student housing layouts include:
- 4×4 apartments: Four bedrooms and four bathrooms, usually with a private bathroom for each resident.
- 4×2 apartments: Four bedrooms and two bathrooms shared between residents.
- 2×2 apartments: Two bedrooms and two bathrooms.
- Studios: Individual units with combined living and sleeping areas.
A useful floor plan should clearly show:
- Bedroom labels such as A, B, C, and D.
- Private and shared bathroom arrangements.
- Bedroom dimensions.
- Kitchen and living room positions.
- Windows, doors, and internal corridors.
- Furniture placement and storage areas.
Make sure the labels match the actual leasing inventory. If the leasing website calls a room Bedroom A, the floor plan should use the same label. This makes it easier for students to select a bed and understand what their lease includes.
-
Individual Bedroom Renderings
Bedroom images are among the most important visuals in a by-the-bed leasing campaign. They show students the private space they will use every day.
A student apartment rendering should present the actual room layout, furniture, finishes, and lighting. When bedrooms differ, show those differences instead of using one generic image for every room.
Each bedroom rendering should include:
- Bed size and position.
- Study desk and chair.
- Wardrobe and closet space.
- Dresser and shelving.
- Window placement and natural light.
- Bathroom access, where applicable.
Pay attention to room size. A bedroom that looks spacious in a rendering but feels cramped after move-in can create complaints and damage trust.
Use realistic furniture dimensions and camera angles. If two rooms have different layouts, make sure students can see the difference before choosing.
-
Isometric Cutaway Floor Plans
Isometric cutaway views show an apartment from an elevated angle with selected walls removed. They help students see how private rooms connect with shared kitchens, dining areas, and living rooms.
These views are especially useful when students have not lived in shared accommodation before.
A good cutaway should show:
- The position of each bedroom.
- Shared kitchen and dining areas.
- Bathroom locations.
- Internal doors and circulation paths.
- Furniture and storage.
- The relationship between private and shared spaces.
For example, a four-bedroom apartment may have bedrooms on opposite sides of a shared living area. An isometric view makes this arrangement easier to understand than a flat 2D drawing.
-
Furniture and Storage Details
Students need to know whether their room has enough space for sleeping, studying, and storing personal belongings. Renderings should show these details clearly.
Include the furniture listed in the project’s FF&E schedule such as beds, desks, chairs, wardrobes, dressers, and shelving.
Pay particular attention to:
- Desk space for laptops and books.
- Closet size and wardrobe placement.
- Under-bed storage, if included.
- Walking space around the bed.
- Natural light near study areas.
- Room finishes and lighting fixtures.
These details help students picture how they will use the room rather than simply judging its appearance.
Which Amenities Should You Include in Student Housing Renderings?
Amenity renderings should show the facilities students will actually use, including study areas, fitness spaces, social lounges, and outdoor recreation areas. These spaces help prospective residents compare communities beyond their bedroom options.
Gen Z students often choose a property based on its overall living experience. Show the amenities that make the community useful and comfortable throughout the academic year.
24/7 Study Lounges and Co-Working Spaces (For the Parents)
Study areas are important in student communities because residents need places to work outside their bedrooms.
Show different study settings such as:
- Individual study desks.
- Quiet study pods.
- Group worktables.
- Shared computer areas.
- Meeting and collaboration rooms.
Use camera angles that clearly show desk spacing, seating, lighting, and available work areas.
Fitness and Wellness Facilities
Fitness centers, yoga rooms, and wellness spaces help students see what recreational facilities the property offers.
A professional 3D interior render shows the planned equipment, floor finishes, lighting, and circulation space.
For a fitness center, include the actual equipment and layout rather than filling the room with unnecessary machines.
Social and Community Areas
Social spaces help students picture how they will spend time with friends and other residents.
Consider including:
- Rooftop lounges.
- Swimming pools and pool decks.
- Coffee bars.
- Gaming rooms.
- Shared dining areas.
- Outdoor courtyards.
- Pet-friendly spaces, where provided.
Show how the furniture and layout support everyday use. For example, a rooftop lounge should show seating arrangements, shaded areas, and access to the outdoor space.
Entrances and Safety Features
Parents want to see how residents enter the building and access shared facilities. These concerns deserve attention in the visual package.
Show actual design features such as controlled-access entrances, reception areas, well-lit corridors, and secure bicycle storage where included.
The camera angle should make the entrance and access arrangements easy to understand. Avoid showing security features that are not part of the approved project.
Exterior Visuals That Prove Location and Safety
A great room does not matter if the building feels unsafe or too far from class. Exterior renderings answer these big worries in seconds.
Off- Campus Student Housing Renderings
Take a real drone photo of the neighborhood and place your 3D building right into it. Add simple map pins or glowing lines that show:
- “5-Minute Walk to Campus”
- “2 Blocks from the Football Stadium”
- “Steps from the Main Library”
Include nearby features such as:
- University buildings and libraries.
- Grocery stores and shopping areas.
- Bus stops and transport connections.
- Restaurants and cafes.
- Main pedestrian routes.
- Nearby parks and recreational areas.
These visuals help students and parents compare the location with other accommodation options.
Dusk Hero Shots and Secure Lobbies
Render the front of your building at twilight when the sky is deep blue, and the indoor lights glow warmly. Also, create one clear render of the front lobby. Show keycard entry gates, smart package lockers, and a friendly front desk. Parents love seeing that strangers cannot just walk into the building.
When Should You Start Producing Student Housing Renderings?
Start production approximately 9 to 12 months before the planned opening date. This gives the rendering team enough time to prepare the building model, bedroom images, floor plans, amenity views, and marketing materials.
The exact schedule depends on the project’s size, design stage, and leasing launch. However, the team should work backward from the first pre-leasing date rather than waiting until construction is nearly complete.
Recommended 9 to 12 Month Production Timeline
| Time before opening | Production stage | Main deliverables |
| 12 to 9 months | Project setup and modeling | CAD/Revit review, exterior modeling, visual direction |
| 9 to 7 months | Main rendering production | Exterior views, bedroom interiors, initial floor plans |
| 7 to 6 months | Core visual approvals | Apartment layouts, amenity images, website assets |
| 6 to 4 months | Additional marketing visuals | Aerials, extra interiors, animations |
| 4 to 2 months | Interactive content | Virtual tours, interactive floor plans, social media formats |
| 2 months to opening | Final updates | Approved design changes and updated marketing images |
This is a recommended planning schedule, not a fixed industry requirement. Larger projects with several building types may need more production time.
3 Simple Rules for Realistic Student Apartment Renderings
Bad 3D renderings look like video games from ten years ago. Worse, they can look like a boring hotel for business travelers. Follow these three art rules to make your visuals connect with college kids:
- Make it look lived-in: Empty rooms feel cold. Ask your 3D artist to add everyday college items. Put an open laptop on the desk, a backpack by the chair, sneakers by the door, and green plants on the shelf.
- Dress the 3D people right: Never put people in suits and ties inside a student building. Make sure the 3D people wear hoodies, sweatpants, sneakers, and carry coffee cups.
- Match the real furniture: Make sure the colors of the cabinets, floors, and couches in your 3D pictures match the real items you bought for the building. When students move in, the room should look just like the picture they fell in love with.
Final Thoughts
Successful pre-leasing starts with showing students what they are actually renting. Individual bedroom views, accurate floor plans, realistic interiors, and amenity images help them compare their options before the property opens. A complete student housing rendering package also gives owners, operators, investors, and leasing teams the visuals they need throughout the marketing process. Student housing rendering removes all the guesswork for Gen Z renters and their parents. Starting 9 to 12 months before opening leaves enough time to prepare, review, and release those assets before the main leasing period.
Frequently Asked Questions
Q1: What is the most important visual for by-the-bed student housing?
A bed-level 3D floor plan is one of the most important visuals because it shows individual bedrooms, bathroom access, and shared spaces. Separate bedroom images then help students compare furniture, storage, room dimensions, and natural light before selecting a bed.
Q2: Do all bedrooms need separate 3D renderings?
Not every bedroom needs a separate interior image. Identical rooms with the same dimensions, finishes, and furniture can share a representative rendering. However, bedrooms with different layouts, windows, bathroom arrangements, or furniture need separate visuals so students can compare their actual options.
Q3: How many renderings do we need to lease a new community?
Most successful student housing projects need 12 to 18 total visuals. This usually includes 2 exterior shots, 4 to 5 amenity shots, 3 interior unit views, and 3D dollhouse floor plans for each unit type.
Q4: Are 3D renderings worth the cost?
Yes. One empty bed in a student apartment can cost you $10,000 to $14,000 in lost rent for a single school year. If great 3D renderings help you lease just two extra beds before opening day, they pay for themselves completely.